

An uneven sliding glass door can turn a normal trip to the patio into a two-handed chore. Usually, the panel has dropped slightly because its bottom rollers need adjustment, not because the entire door must come out of the frame.
If you need to adjust sliding door rollers, you can often do it in place with a screwdriver and a few careful test slides. The process takes small turns, keeps the glass panel supported, and helps you decide whether the track, rollers, or handle needs attention. Start with a quick inspection before touching the screws.
Before You Adjust Sliding Door Rollers, Inspect the Panel
A roller adjustment works only when the panel and track are otherwise sound. Clear the opening, keep children and pets away, and close the panel before inspecting its lower corners.
Locate the adjustment screws
Look along the vertical edge of the sliding panel, close to the bottom corner. Many frames have a small plastic plug covering the roller adjustment screw. Pop the plug out carefully with a small flat screwdriver. Some doors expose the screw directly through a hole in the frame.
You may find one screw at each bottom corner. These screws change the height of the rollers, which changes the panel's position over the track. Keep the door closed while you locate both sides, and don't pry or lift the glass to reach them.
Use the door's symptoms as a guide
If the door scrapes the sill, feels heavy, or leaves a wide gap at one corner, the panel may sit too low or out of level. A door that rolls but rubs near the top can also need leveling. Look at the vertical gaps between the panel and jamb. Uneven gaps point to height or alignment trouble.
Run a vacuum along the track, then check for bent sections, packed grit, or loose screws. Adjustment won't repair a crushed track or a roller that has seized.
How to adjust sliding door rollers in place
Once you know where the screws are, keep the screwdriver square in the slot. A poor fit can damage the screw head and make future adjustments harder.
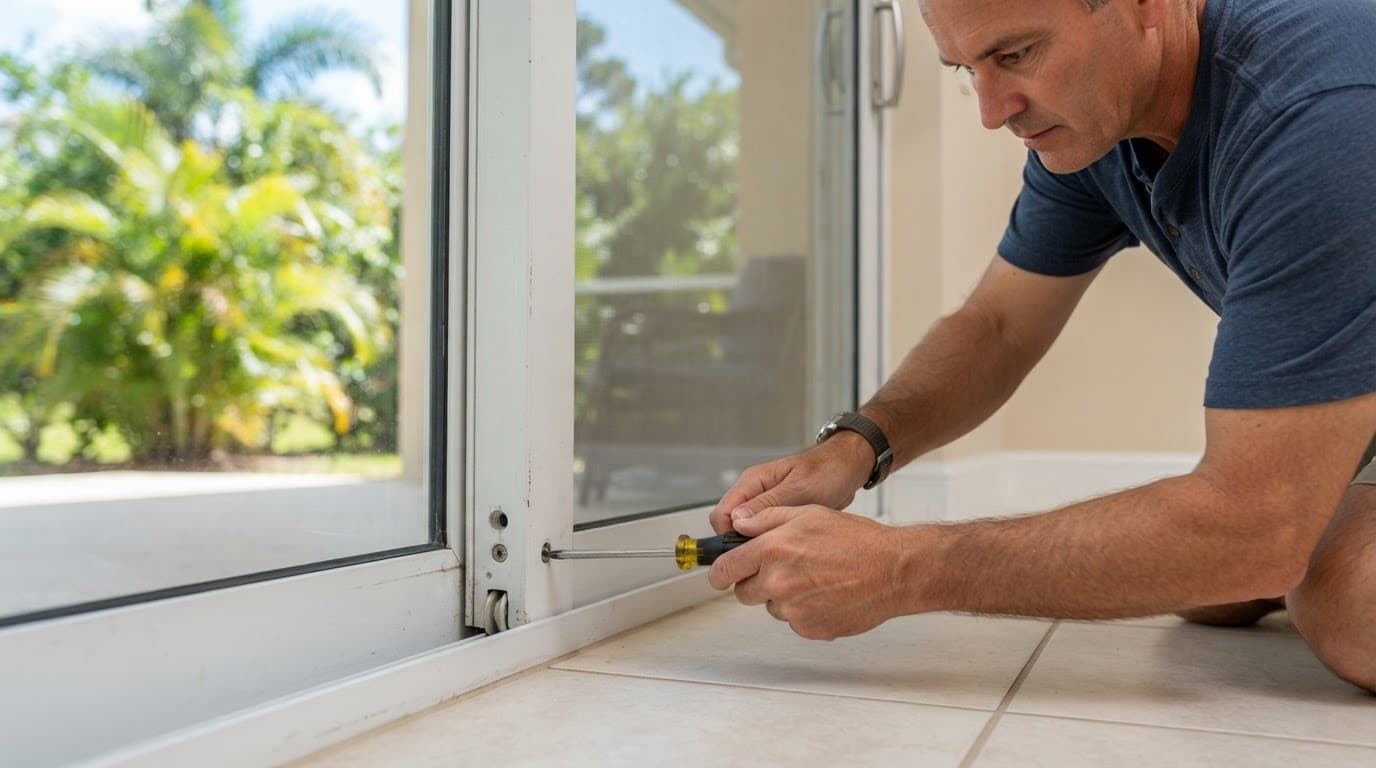
- Turn one adjustment screw clockwise by about one-quarter turn. On many doors, clockwise raises the roller, but the direction can vary. Test the panel instead of relying on the direction alone.
- Move to the opposite bottom corner and make the same small turn if the panel sits low across its width. Work evenly when both rollers need to rise.
- Slide the door several times. It should travel with light, steady pressure and remain parallel to the jamb. Watch whether the bottom edge clears the track and whether the top guide rubs.
- If one corner hangs lower, adjust only that side by another quarter turn. Stop when the gaps look even and the panel rolls without scraping.
- Replace the access caps and check the lock. Raising the panel too far can move the latch out of line, so confirm that the door closes and locks normally.
Make small, balanced changes
Quarter-turn changes are easier to track than large adjustments. Mark each screw's starting position with a pencil on the frame, and count turns on paper. If the panel becomes harder to move, reverse the last change before trying another.
If Roller Adjustment Doesn't Fix the Drag
After you adjust sliding door rollers, test the door with the handle and lock engaged as you use them. If it still drags, find the cause before forcing the panel.
Clean and inspect the track
Brush and vacuum the track again after adjustment. A small pebble can create resistance that feels like a roller failure. Wipe the metal track with a damp cloth and dry it. Avoid coating the running surface with heavy oil because it collects dust and grit.
Check the bottom corners for a cracked housing, missing screw, or wheel that doesn't turn. Also inspect the top guide. If the panel rocks, jumps, or makes a grinding sound, adjustment alone probably won't restore smooth movement.
Know when the rollers need replacement
Worn rollers may need replacement when the wheels have flat spots, the housing is damaged, or the adjustment screw reaches its limit. A bent track can also keep a good roller from running correctly. At that point, removing the panel or hiring a glass-door technician may be safer than forcing it.
A level door that still feels awkward at the hand has a handle problem, not a roller problem.
Improve the Grip With a Retrofit Handle
Rollers control how the panel moves. The handle controls how your hand meets the door. Once the panel glides correctly, a retrofit handle can solve the separate problem of a shallow, broken, or hard-to-grip pull.
Match the handle to the existing hardware
Luuv Handle's retrofit design fits over existing sliding door hardware made for 7.25-inch by 1-inch door plates. Check that measurement before ordering. The interior and exterior options come in white and bronze, with durable steel hardware and water-resistant oak construction.
A replacement handle won't correct a dragging panel, but it can make a properly aligned door easier to open. For a matching upgrade on both sides, an inside-and-outside bundle avoids mixing finishes. The Sliding Glass Door Replacement Handle is one option for a lighter frame.
Install it without drilling
Installation doesn't require removing the door. Luuv Handle slides over the existing handle, so you loosen the inside screws, position the bottom, set the top cap, and tighten the fasteners. The job takes about 30 seconds with no drilling and no alteration to the door. You keep the original lock and latch in place.
Luuv Handle is made in the USA and is a patented product until 2037. Review the no-drill handle installation instructions before fitting it, and use the sliding door handle retrofit FAQs to confirm plate compatibility.
Conclusion
Roller adjustment is a controlled alignment job. Find the screws, clear the track, make quarter-turn changes, and test the panel after each adjustment. A door that still rolls well but feels difficult to grip needs a handle solution instead.
Once the panel clears the track and the lock lines up, a no-drill retrofit handle can improve daily use without changing the door itself. The right fix depends on whether the resistance comes from movement below or your grip at the side.