

That tiny mark on your patio door can help you identify the glass, but it won't identify every replacement part. Before ordering a handle or arranging glass work, photograph the patio door glass etching and check the hardware separately.
The distinction matters because glass identification and handle fit involve different parts of the door. Start by locating the marking, recording it accurately, and understanding what still needs confirmation.
Key Takeaways
- Record the complete marking, including symbols and numbers, rather than guessing what an abbreviation means.
- A glass marking alone doesn't prove current code compliance, hurricane protection, or compatibility with a replacement handle.
- Check glass condition first. Then measure the existing hardware before choosing a retrofit handle.
Keep the photos with your door records, especially if you manage a rental property or expect to request repair quotes.
Where to Look for the Glass Marking
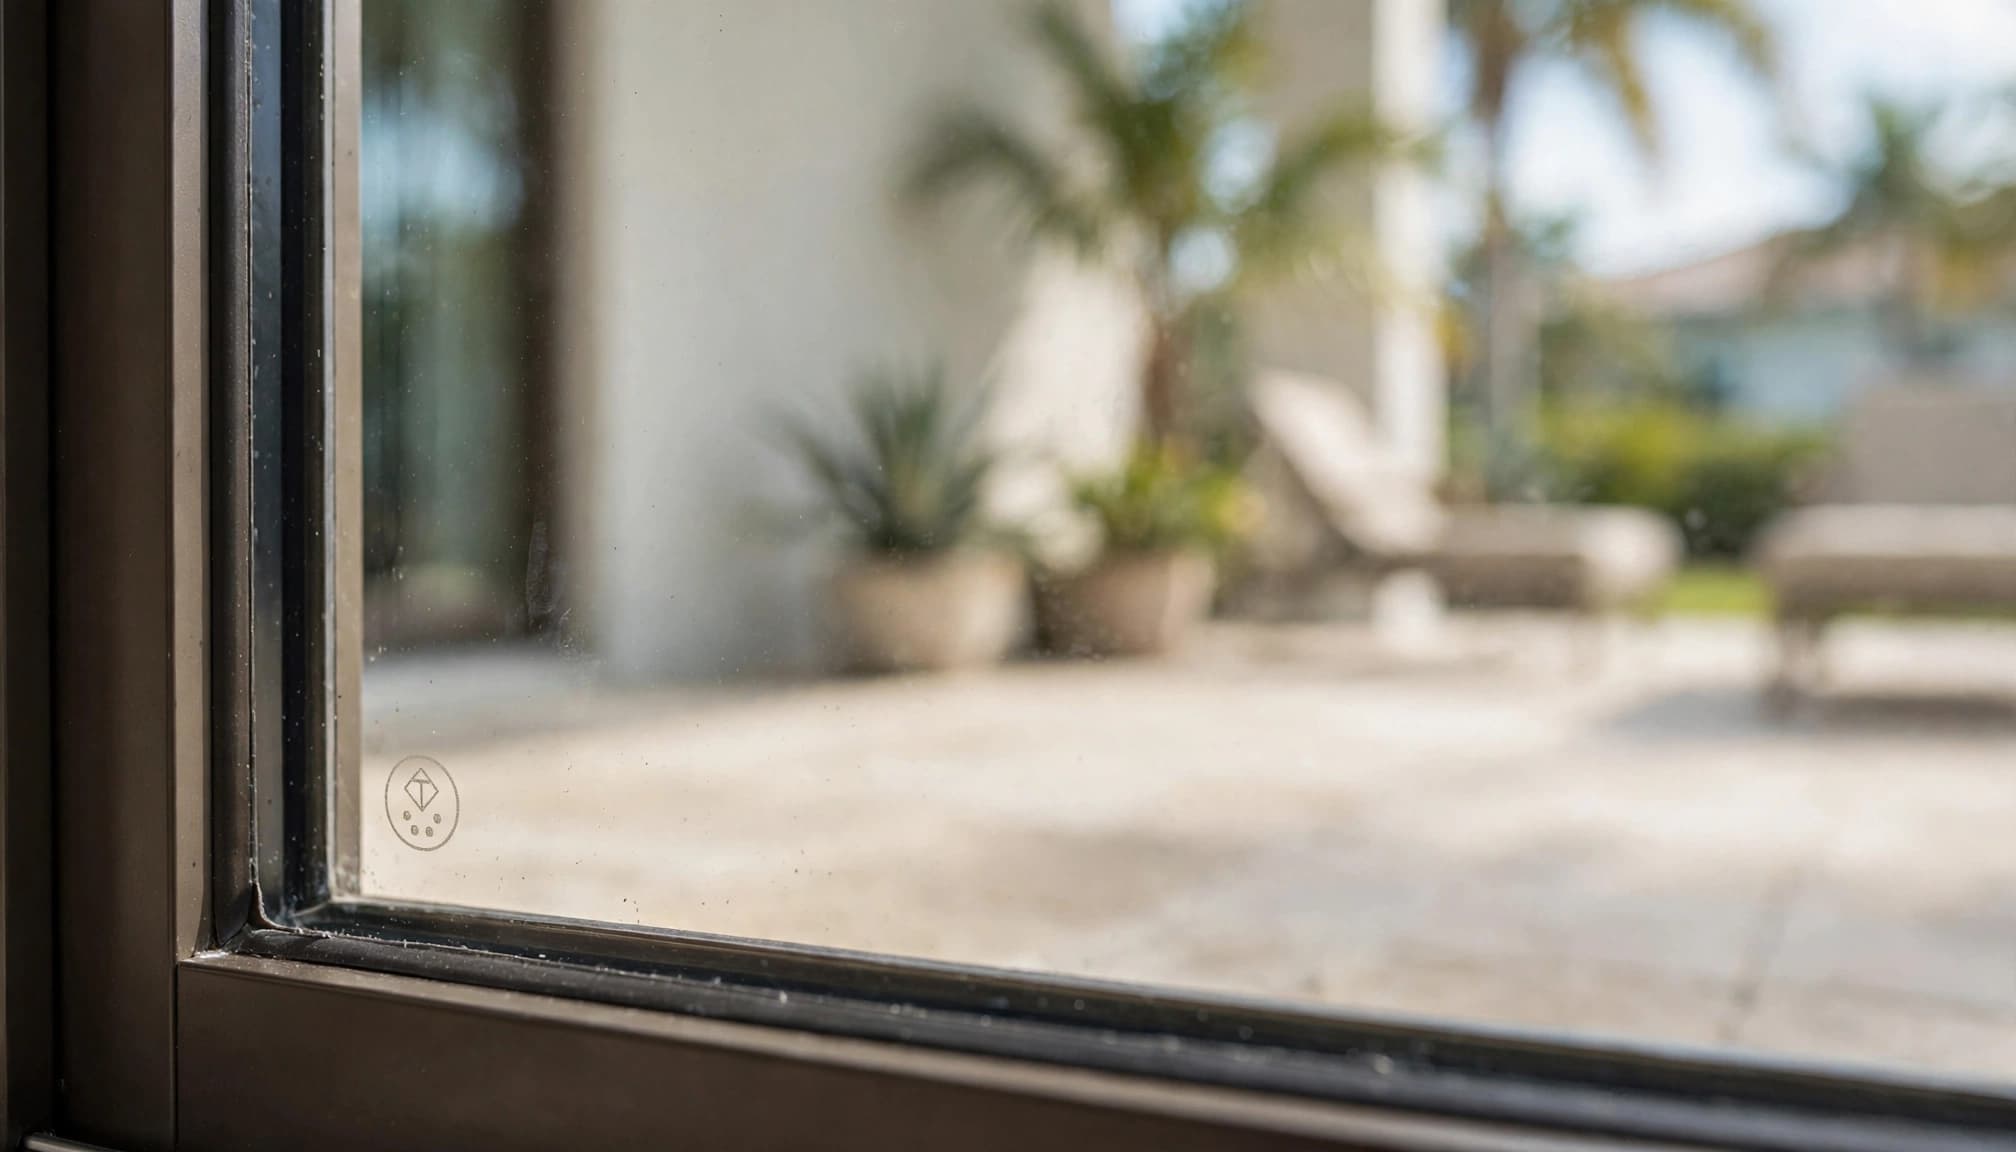
Inspect the corners without moving damaged glass
Begin with the lower corners of each glass panel, then check the other corners if nothing appears. A marking may be faint, partly obscured by the frame, or easier to see from the opposite side.
Use daylight and look across the surface at a slight angle. A flashlight held beside the glass can also help reveal a subtle mark.
However, don't open or close a cracked panel to get a better view. Photograph what you can safely reach and leave closer inspection to a glass professional.
Check the frame for separate identification
Next, look for labels on accessible frame surfaces. A door manufacturer's label or model information can help identify the complete door system.
Keep those details separate from the glass marking. The company associated with the glass isn't necessarily the company that built the door.
Photograph the entire doorway, the moving panel, and any accessible labels. Together, these views give a repair company more useful information than a cropped etching alone. Don't remove trim or glazing stops just to find a label.
How to Read Patio Door Glass Etching Without Guessing
Read the mark line by line, preserving its original order. Write down visible wording exactly, including punctuation and spaces between groups of numbers.
If you recognize a company name, record it. For unfamiliar symbols or abbreviated strings, take a clear photograph instead of assigning a meaning.
Use this simple recording guide.
| What you can see | What to record | What needs confirmation |
|---|---|---|
| A name or logo | The name and a clear image | Whether it identifies the glass supplier or another organization |
| Product wording | Every readable word | The complete glass construction |
| Letters and numbers | The full sequence, line by line | Whether they concern certification, production, or another identifier |
| An incomplete mark | The visible portion and its location | Any missing information |
The useful result is an accurate record, not a guessed replacement specification.
When sending photographs to a glass shop, include one close-up and one wider view showing the marking's location. Also identify whether the panel slides or remains fixed.
A glass-marking number shouldn't become a replacement-part number until the supplier confirms what it identifies.
Ask the shop to explain the readable wording and numbered references. Request the proposed replacement specifications in writing, including dimensions, thickness, glass construction, and any required approvals.
Even a readable etching may leave important details unresolved. Don't assume it supplies the full specification for an insulated glass unit.
Separate Glass Identification From Door Identification
The glass mark doesn't describe every door component
A sliding patio door includes more than its pane. The sash holds the glass, rollers support the moving panel, and the latch connects with the strike plate.
Therefore, a glass identifier doesn't establish which roller assembly, lock, or handle fits the door. Those components need their own measurements or manufacturer information.
This distinction also helps when requesting service. Send the etching photograph for glass questions, but include hardware photographs for a handle or latch problem. Otherwise, a supplier may have enough information about one component and too little about another.
Safety glazing and storm protection need separate confirmation
Safety-glazing requirements and hurricane-impact requirements address different hazards. Don't treat a visible mark as proof that the complete door meets both.
In Florida and other storm-prone areas, replacement work may require particular glazing or an approved exterior-door system. The requirements depend on the location, building, and applicable rules.
Ask the installer to verify the required replacement rather than automatically copying an old pane. Previous repairs may have introduced mismatched glass. Keep the invoice, product specifications, and approval information after installation, especially for insurance records or a managed property.
What to Do When the Etching Is Faint or Missing
First, clean intact glass with a mild, non-abrasive cleaner and a microfiber cloth. Dirt and mineral deposits can make a small mark difficult to distinguish.
Avoid scraping the area with a blade or polishing it with an abrasive pad. You don't want to damage the surface while trying to identify it.
Next, photograph the area at several angles. Turning off the camera flash may reduce glare, while side lighting can make faint details easier to capture.
If the mark appears backward, try photographing it from the other side when access is safe. Keep the original image rather than relying only on an enlarged, heavily edited version.
An unreadable or absent mark doesn't, by itself, establish what glass you have. Gather frame labels, warranty paperwork, purchase records, and photographs of the intact neighboring panel.
A glass professional can inspect the assembly and determine what further identification is necessary. Don't use a missing marking as a reason to dismantle the door yourself.
Check Glass Condition Before Planning an Upgrade
Cracked safety glass needs prompt assessment
Identifying the pane doesn't make damaged glass safe to operate. A through-crack, spreading fracture, or loose fragment requires attention before any handle work.
Tempered glass can't be patched back to its original strength. Surface resin repairs aren't a lasting solution for cracked tempered patio-door glass.
Keep children and pets away, avoid operating the panel, and contact a qualified glass or door company. Don't press on the damaged area to test it.
If the pane shatters, stay clear of the opening and wear closed shoes nearby. Block access until someone can safely handle removal and cleanup.
Fogging between panes points to a different problem
Moisture or persistent haze between panes commonly indicates a failed seal in an insulated glass unit. That differs from dirt on the accessible glass surface.
A contractor may replace the sealed unit while retaining a sound sash. However, the replacement must match the glazing system, dimensions, thickness, and safety requirements.
Ask about tint and Low-E coating as well. A mismatch can change the appearance of one panel beside another.
Before ordering, check the door warranty. Some manufacturers cover insulated-glass seal failures for a limited period, even when other door components remain serviceable.
Measure the Hardware Before Choosing a Handle
Once the glass is sound and the panel operates correctly, you can address an uncomfortable grip. A sliding glass door replacement handle can improve daily use, but the glass etching won't determine compatibility.
Luuv Handle specifies 7.25-inch by 1-inch door plates for its retrofit handles. Measure the existing plate and compare its configuration with the product requirements.
Check the mounting plate for damage or looseness, too. A retrofit grip needs sound hardware underneath it.
Before ordering, review Luuv's handle compatibility details and confirm whether you need an interior, exterior, or paired setup. Send a photograph if you're uncertain about the plate.
Also test the existing lock and latch. A more comfortable handle won't correct a latch that misses the strike plate or a panel that drags. Those problems need repair or adjustment first.
Install a Retrofit Handle After Glass Work Is Complete
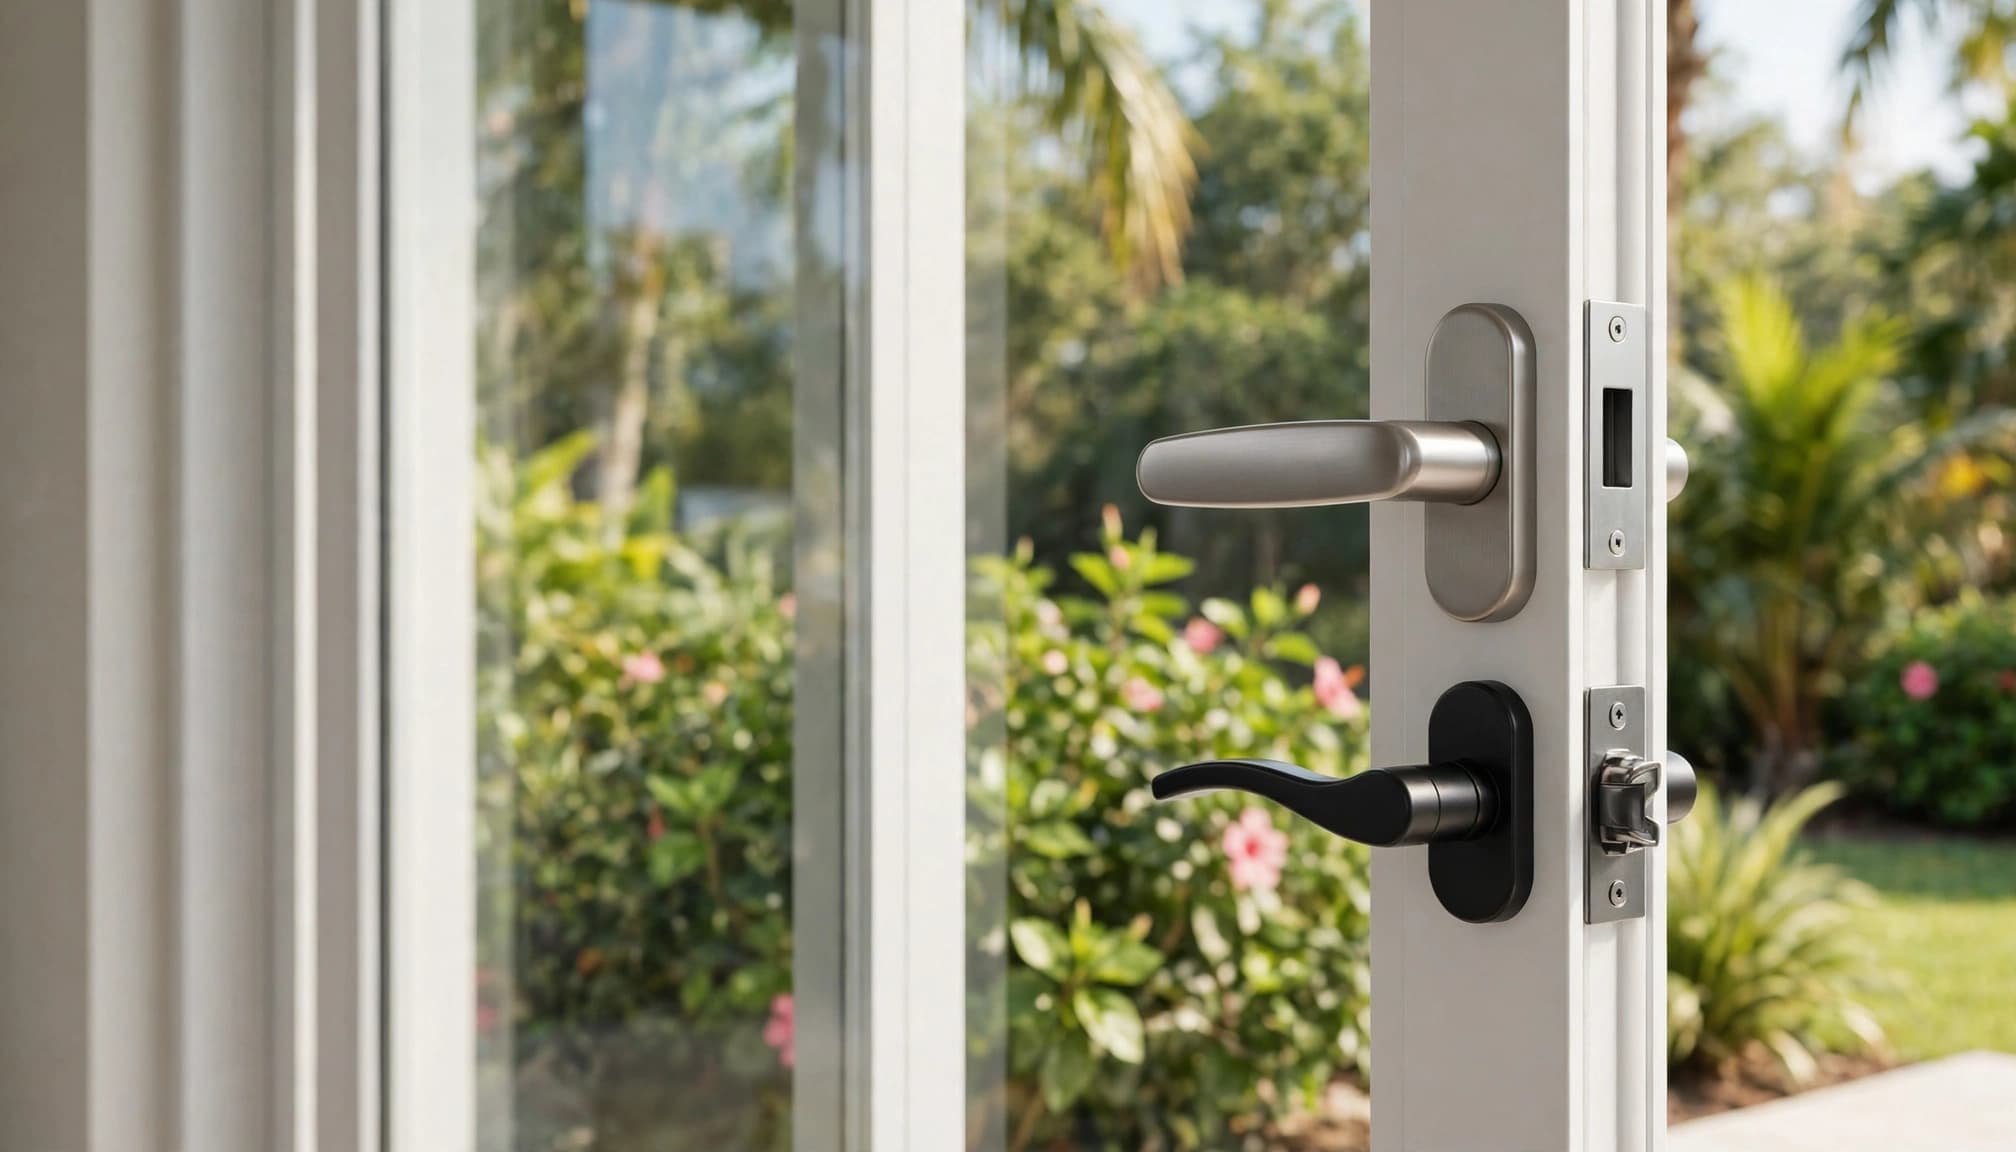
Luuv Handle is made in the USA and is a patented product until 2037. Its compatible retrofit design requires no alteration to the door and no drilling.
The handle fits over existing hardware, so the original lock and latch remain in place. Installation takes about 30 seconds when the plate is compatible.
Follow the Luuv handle installation instructions for the complete sequence:
- Loosen the existing screws from the inside of the door.
- Position the handle over the plate, engaging the lower slide and seating the upper cap.
- Tighten the screws from inside, then test the handle and latch.
Wait until glass replacement and roller adjustments are complete before installing the handle. Afterward, the panel should move with steady pressure and latch without lifting.
If it catches or requires force, stop and address the resistance. Extra grip shouldn't substitute for repairing worn rollers or correcting alignment.
Frequently Asked Questions
Can I order replacement glass using only the etching?
Treat the patio door glass etching as one identification clue, not a complete order specification. A supplier still needs to confirm the glass dimensions, thickness, glazing system, and required performance.
The visible glass area isn't the full size of the unit held inside the sash. Therefore, don't place an order using only a tape measurement across the exposed pane.
Provide the marking, frame labels, and full-door photographs. Have the contractor verify the final replacement size and construction.
Does a replacement handle require changing the glass?
A compatible retrofit handle attaches over existing hardware without replacing the pane. Glass work and handle work remain separate decisions.
For Luuv Handle, confirm the specified plate size and check that the existing mounting hardware is sound. The retrofit keeps the original lock and latch in place.
However, cracked glass takes priority. Complete the glass repair and confirm smooth door operation before adding the handle. That sequence avoids installing hardware while a contractor is removing or adjusting the panel.
Keep the Glass Record and Hardware Measurements Separate
The tiny mark on your door is useful when you preserve it accurately and confirm its meaning with the right supplier. It doesn't answer every question about the complete assembly.
Keep glass specifications and hardware measurements together in your records, but use each for the appropriate repair. Once the glass is safe and the door rolls correctly, a compatible handle upgrade can make everyday use more comfortable.