

A new sliding door handle shouldn't rock in your hand or leave a visible gap against the old hardware. When that happens, tightening the screws harder can make the problem worse. A careful retrofit handle installation starts with finding where the new handle stops seating.
The cause may be the installation sequence, the shape of the existing plate, or nearby trim. You can check each possibility without drilling or taking the door apart. Start with the gap you can see.
Find out where the handle stops sitting flush
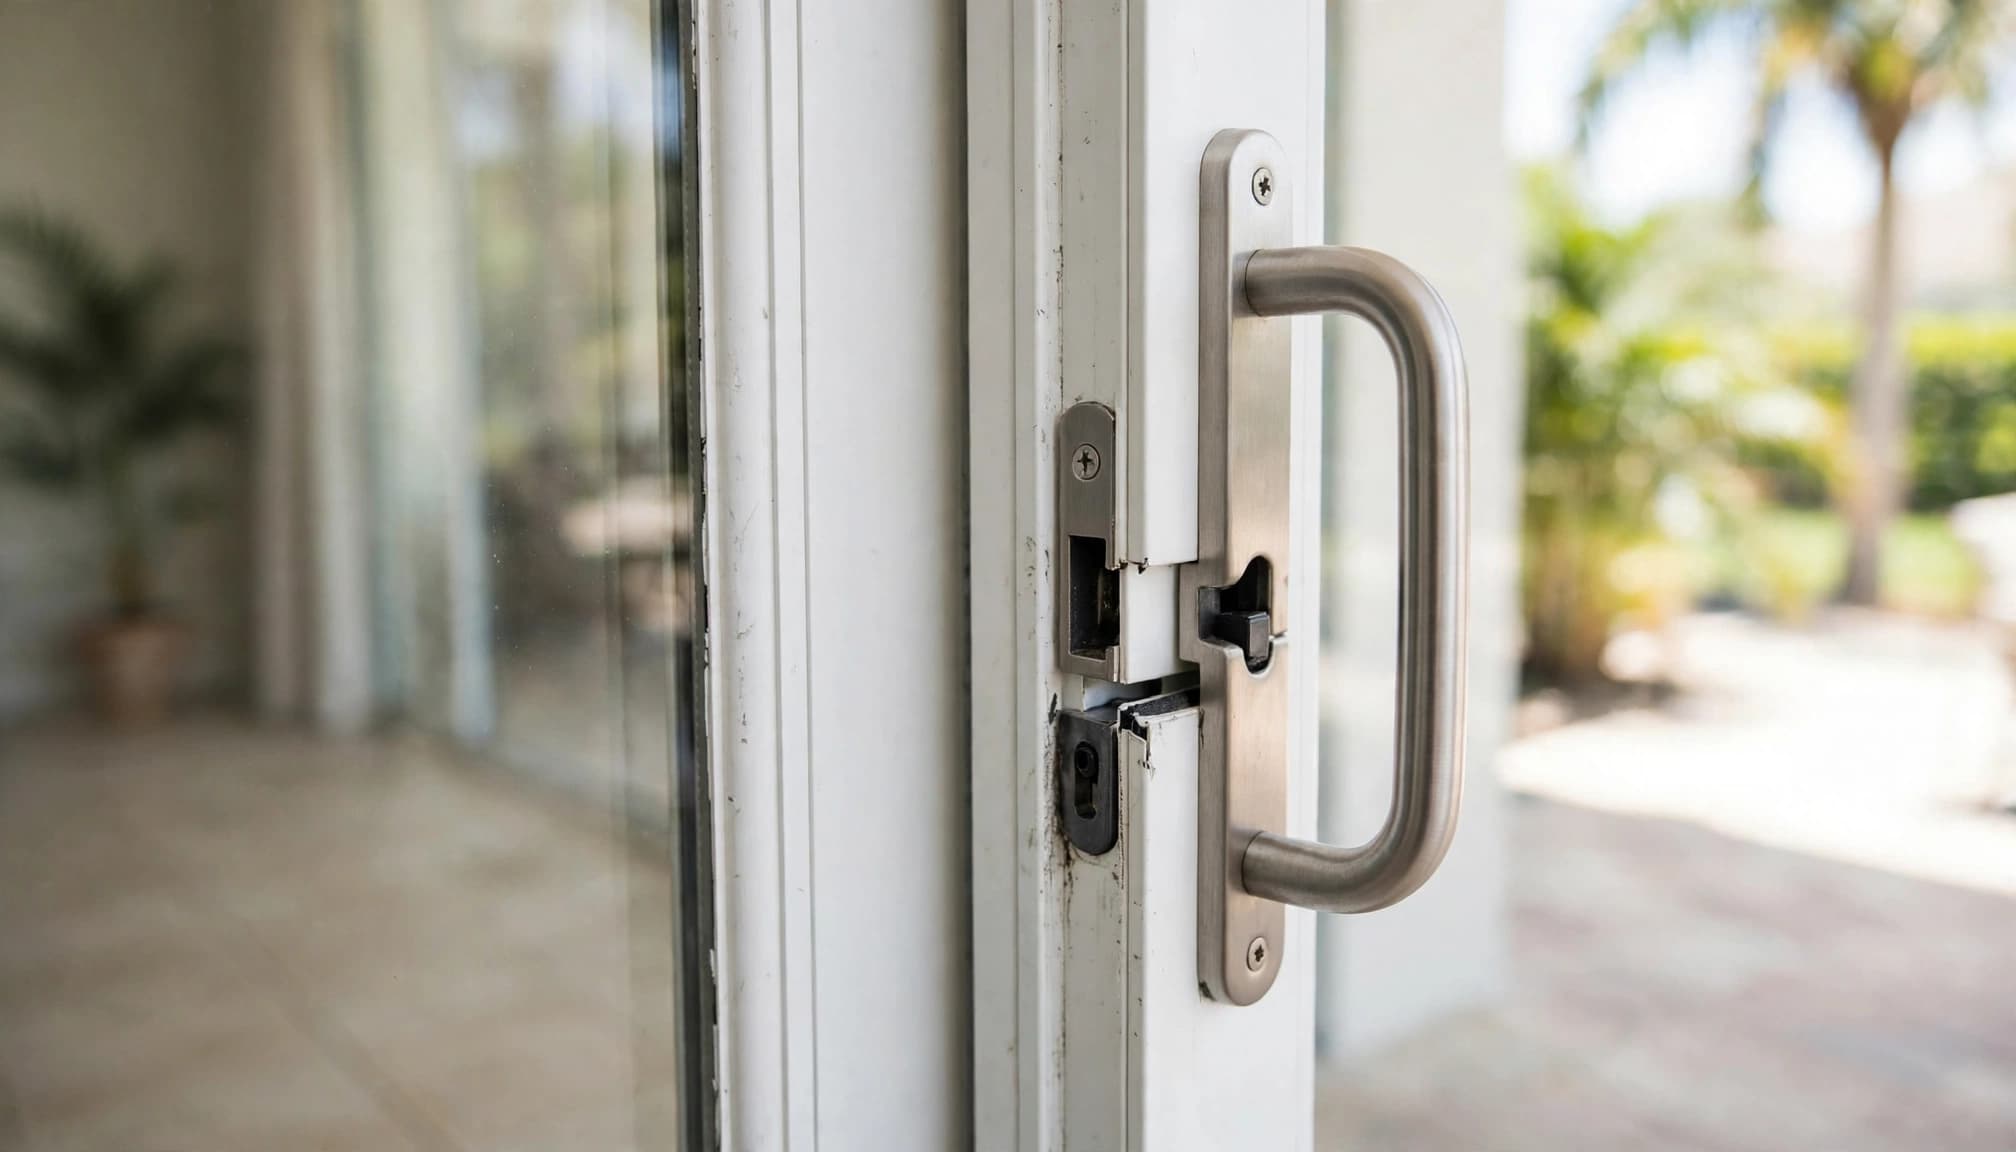
Open the door enough to see both ends of the handle. Look along its edges rather than judging the fit from straight on. A gap at one end calls for a different check than a handle that sits evenly away from the entire plate.
Check whether the top and bottom are seated
If the lower edge looks close but the top stands out, check whether the top cap has settled over the plate. If the bottom stands away, look at the lower slide-on connection. Don't pull harder to close either gap. First, confirm that the parts are lined up with the existing plate.
Gently test whether the handle shifts up, down, or side to side. Movement can help you tell an unseated handle from one that's seated but loose. Keep the door stationary while you do this, and avoid putting your weight on the new grip.
Separate a visible gap from a loose grip
A handle can appear close to the door yet move when you pull it. It can also feel firm while a flange remains visibly raised. Note which symptom you have before touching the screws.
Take a photo from the side and one from above if the gap is hard to describe. Those views are useful when you compare the fit with the product instructions or ask the manufacturer for help.
Check the door plate before changing anything
Retrofit handles depend on the shape and size of the hardware already on your door. A close-looking match isn't enough if the new handle can't pass over the plate and settle into position.
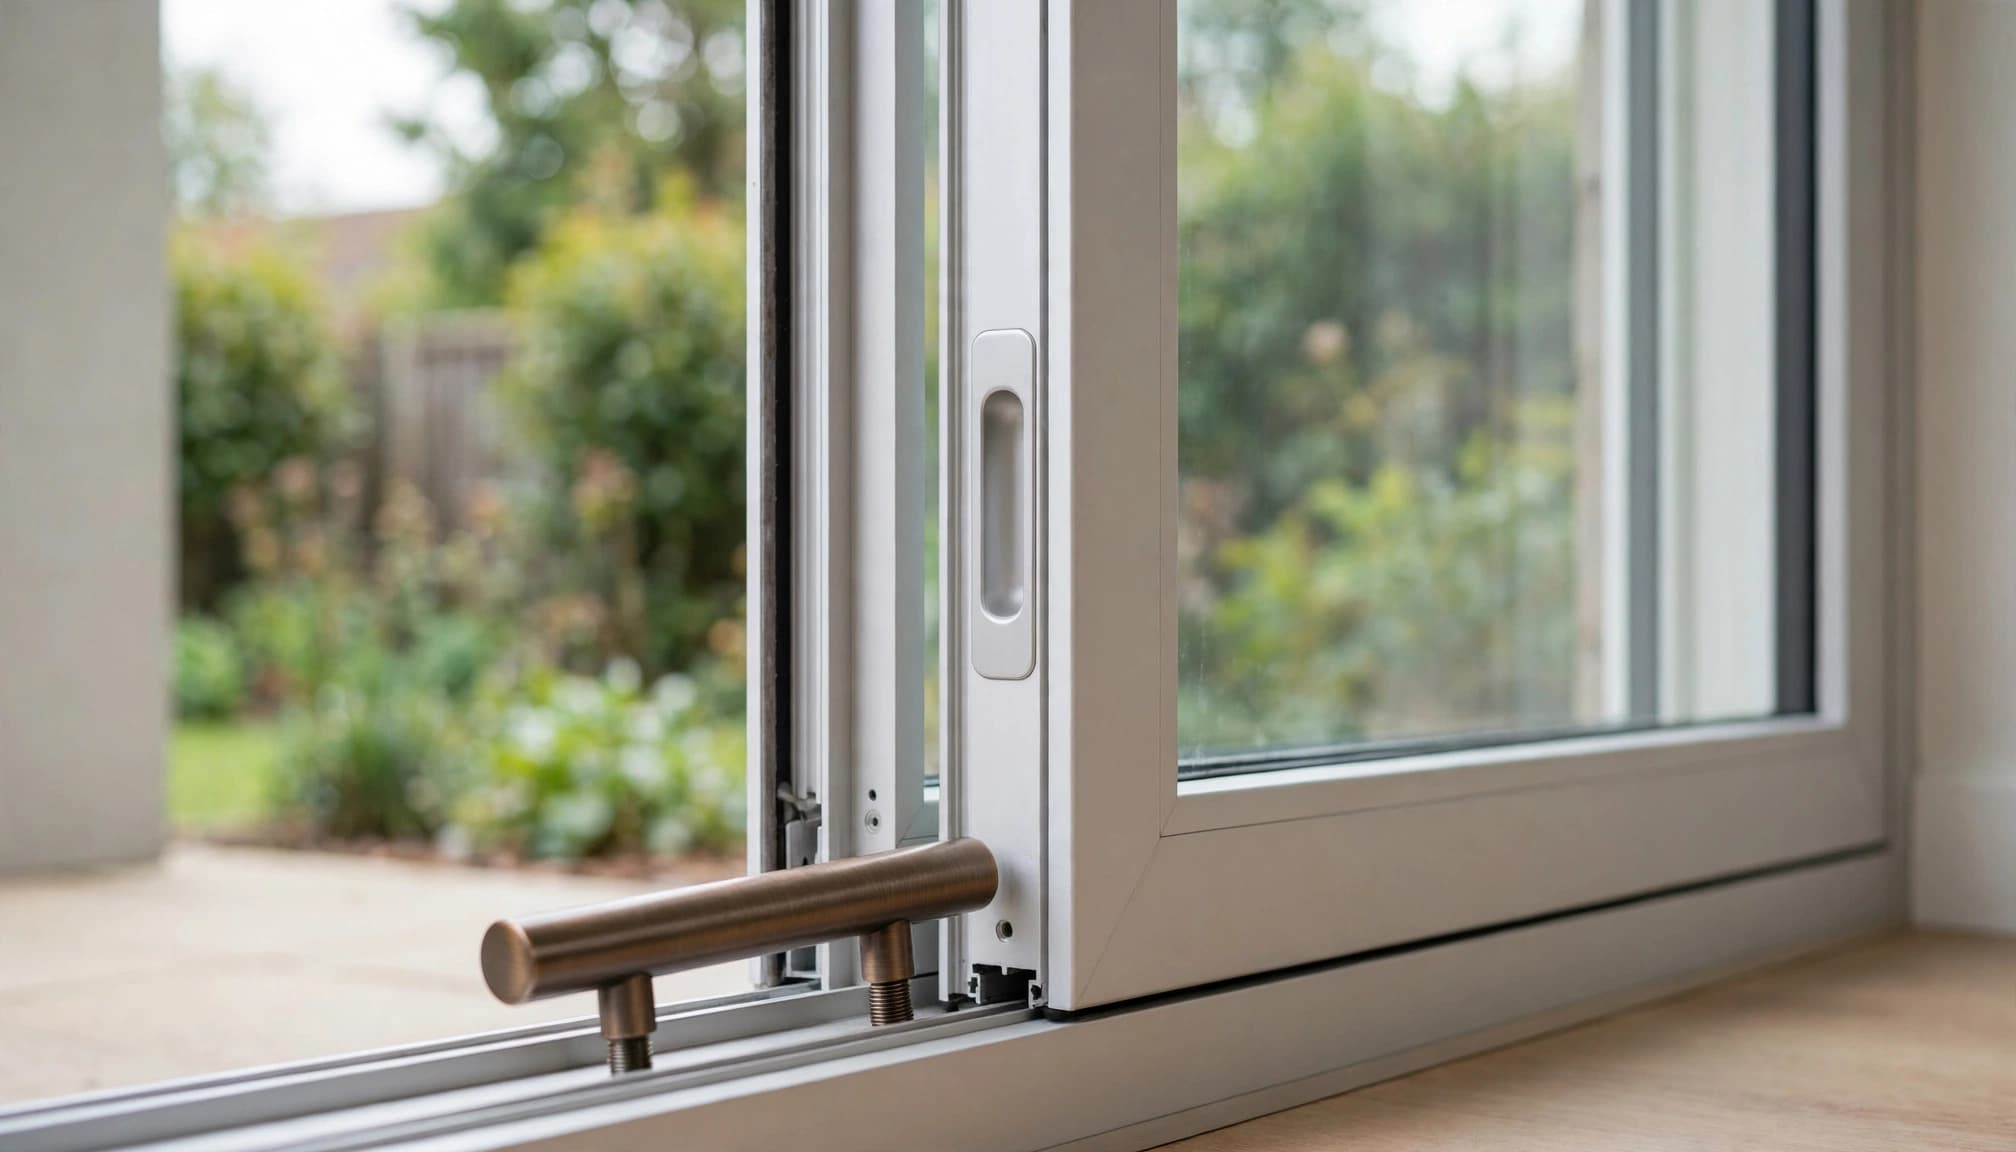
Measure the existing plate, not the door frame
Luuv Handle specifies 7.25-inch by 1-inch door plates for its retrofit handles. Measure the plate attached to your current handle, not the full width of the door stile. The company's sliding door handle compatibility FAQs explain that the retrofit goes over compatible existing hardware. You don't need to identify the door brand or match new screw-hole spacing, but the plate dimensions still matter.
If the plate differs from those measurements, stop trying to press the handle into place. Contact the manufacturer with the measurements and photos rather than changing the door to suit the product.
Look at the plate's shape and nearby clearance
Check for a raised lock control, curved trim, or an unusual plate profile where the retrofit needs to sit. Then look at the space between the moving panel and the fixed frame. On doors with a screen, check the screen's path too.
Interior and exterior handles also need to go on the intended side. If you're fitting both sides, confirm the parts before tightening either one. Luuv's bronze inside-and-outside handle bundle lists the same plate dimensions and includes left- and right-offset options. An offset or clearance question is worth resolving before you force a fit.
Repeat the retrofit handle installation sequence
Once the plate matches, go back to the mounting steps. Luuv Handle fits over the original hardware, so its installation requires no alteration to the door and no drilling. The original handle, lock, and latch remain in place.
Luuv Handle is made in the USA by a veteran-owned Southwest Florida business. It is a patented product protected until 2037. Its quick-install claim applies to a compatible door; troubleshooting an unexpected gap may take longer.
Seat the handle before tightening the screws
Follow the company's sliding glass door handle installation instructions for the exact order. For its exterior handle, the published sequence is:
- Loosen the screws from inside the door enough to fit the retrofit, without removing the original hardware.
- From outside, slip the handle's lower slide up the existing plate.
- Set the top cap over the plate, then pull the handle down until the cap seats.
- Return inside and tighten the screws.
If the top cap hasn't seated, tightening from inside won't complete that step for you. Loosen the fasteners as the instructions direct and check the handle's position again.
Tighten only after the parts line up
Watch the handle as you tighten. If one edge begins lifting, pause and check its placement rather than turning the screw harder. The grip should feel firm when you test it with normal hand pressure.
Don't add washers, bend a flange, substitute longer screws, or drill fresh holes to hide a poor fit. Those changes can introduce new problems and aren't part of the published installation sequence. If a screw spins without tightening, stop and get advice about the original hardware before using the door by its new handle.
Look for contact points around the old hardware
A correctly sized plate can still leave you wondering why the overlay won't settle. Inspect the surfaces you can see without dismantling the lock. Use good light and look at the back of the retrofit handle as well as the exposed edges of the original plate.
Clear dirt without reshaping the parts
Grit, old paint, or buildup along a plate edge can obstruct a slide-on fit. Wipe accessible surfaces with a soft cloth, then try the installation sequence again. Don't scrape a painted door or pry beneath the plate.
Also check that no loose trim sits in the handle's path. If something appears damaged or out of place, photograph it. Removing or modifying the original assembly may create a latch problem that the retrofit wasn't meant to solve.
Treat a persistent flange gap as a fit question
Some customers have described exterior-handle fit problems in reviews of sliding door retrofit handles, including a flange that prevented a flush seat. Those are individual experiences, not proof that every visible gap has the same cause.
If your handle is seated according to the instructions but a flange still stands proud, send the manufacturer photos of that exact contact point. That gives them more to work with than a description such as "it doesn't fit."
A screw can make a handle feel tight without making an incorrectly seated flange sit flush.
Test the whole door before relying on the new grip
A flush handle is only part of a successful installation. The glass panel must still slide, close, and lock as it did before. Test slowly, with one hand near the existing hardware, and stop if anything catches.
Check movement and screen clearance
Slide the glass panel through its normal travel. Watch whether the new handle approaches the jamb, fixed panel, or screen frame too closely. Test any sliding screen separately so you don't mistake a stiff screen for resistance in the glass door.
If the panel drags even when you aren't using the new handle, check the track for debris. Rollers, the track, and the sill affect how the panel moves. A more comfortable grip won't repair a wheel that binds or a damaged rail.
Confirm that the original latch still works
Close the panel gently and operate the lock several times. It should engage without lifting the door or pulling hard on the retrofit handle. If the latch no longer lines up, stop using force and investigate the door alignment or existing lock.
A sliding glass door replacement handle can improve control when a shallow factory pull is uncomfortable. An overlay handle doesn't repair broken latch parts. If the original hardware was unreliable before installation, address that fault separately.
Know when to stop trying to make it fit
A no-drill upgrade should remain a no-drill upgrade. When the handle won't seat after a measurement check and a careful reinstall, more pressure isn't the next step.
Ask about product fit when the gap remains
Send Luuv Handle the plate's width and length, plus clear photos of both sides of the door. Include a close side view of the gap and note whether the problem occurs with the door open, closed, or both. Tell them if the top cap seats and whether the handle moves after tightening.
This is also the right point to ask about your product's options rather than assuming a different finish or an inside-and-outside set will solve the gap. The FAQ describes a 30-day guarantee, so check its terms if you recently purchased the handle.
Get door-hardware help for damaged parts
Stop DIY work if screws won't hold, the lock fails, the frame is bent, or the glass is damaged. A sliding door technician can inspect the original assembly and panel alignment. Don't remove a heavy glass panel to solve a handle-fit issue.
Likewise, avoid forcing the new grip against a nearby frame or screen. Repeated contact can damage hardware that was working before you began.
Key Takeaways
- Find where the gap starts before adjusting the handle.
- Confirm that a Luuv-compatible existing plate measures 7.25 inches by 1 inch.
- Seat the lower slide and top cap before tightening the interior screws.
- Test panel travel and latch operation, then ask for product-specific help if the gap remains.
Conclusion
A retrofit handle that won't sit flush needs a fit check before it needs more force. Measure the plate, repeat the seating steps, and identify the exact point of interference.
If the handle still stands proud, keep the door unchanged and send the manufacturer clear photos. A secure grip begins with a correctly seated handle, not tighter screws.
Frequently Asked Questions
Should a retrofit handle cover my existing sliding door handle?
Luuv's retrofit is designed to fit over compatible existing hardware. Its FAQ says you keep the original handle, lock, and latch in place. Check the required plate dimensions before ordering or reinstalling; the design doesn't fit every sliding door.
Can I drill the door if the handle won't sit flush?
No. Luuv Handle's installation requires no drilling and no alteration to the door. A gap calls for a compatibility or installation check, not new holes. If the plate or surrounding hardware seems unusual, contact the manufacturer before making changes.
Will a new grip fix a door that's hard to slide?
A better grip can make a smoothly operating door more comfortable to use. It won't correct dirty tracks, worn rollers, or a latch that misses its keeper. Check the panel's movement and locking action separately from the handle fit.