

A sliding glass door can feel broken when the real problem is a worn guide, dirty track, or sagging roller. Before ordering parts, test the panel with steady pressure near its existing handle and pay attention to where movement becomes rough.
Replacing a sliding door bottom guide can restore alignment, but the exact design and fastening method vary by door. Use the replacement part's instructions for compatibility, removal, and installation details. The steps below help you identify the problem, prepare safely, and check the finished repair.
Key Takeaways
- Clean and inspect the track before blaming the bottom guide.
- Compare the replacement guide with the existing part before removing anything.
- Don't pry against the glass or lift a heavy panel without proper support.
- Use the manufacturer's instructions for fasteners, tools, and guide placement.
- Test the door's travel, lock, latch, and frame gaps after installation.
- A retrofit handle solves a grip problem, not a damaged guide, roller, or track.
Check the Door Before Replacing the Guide
A bottom guide helps keep the sliding panel positioned as it travels. However, similar symptoms can come from debris, worn rollers, a bent rail, or a door panel that has dropped out of alignment.
Clean the track first
Vacuum the entire lower channel, including the corners near the jamb. Sand, leaves, pet hair, and small stones can collect under the panel and make the door move unevenly.
Use a soft brush or old toothbrush to loosen packed debris. Then wipe the channel with a damp cloth and let it dry completely. Avoid heavy oil and grease because they attract more dust and can create sticky buildup.
If the manufacturer allows lubrication, use only a small amount of a product made for sliding-door tracks or rollers. Cleaning comes first because lubricant won't correct a damaged guide or seized roller.
Look for alignment symptoms
Open the door only as far as it moves without force. Watch for scraping, grinding, jumping, or a section where the panel repeatedly catches.
Check the vertical gaps between the moving panel and the frame. A wider gap at one corner can point to uneven rollers or a panel that sits too low. Also confirm that the latch meets its keeper without lifting or pushing the door.
Most sliding glass doors have roller adjustment screws near the lower edge of the moving panel. If adjustment is appropriate for your door, make small changes and test the panel after each one. Stop if the glass shifts, the frame twists, or the adjustment screw resists.
A new bottom guide can't compensate for a crushed track, a seized roller, or a panel that is badly out of square.
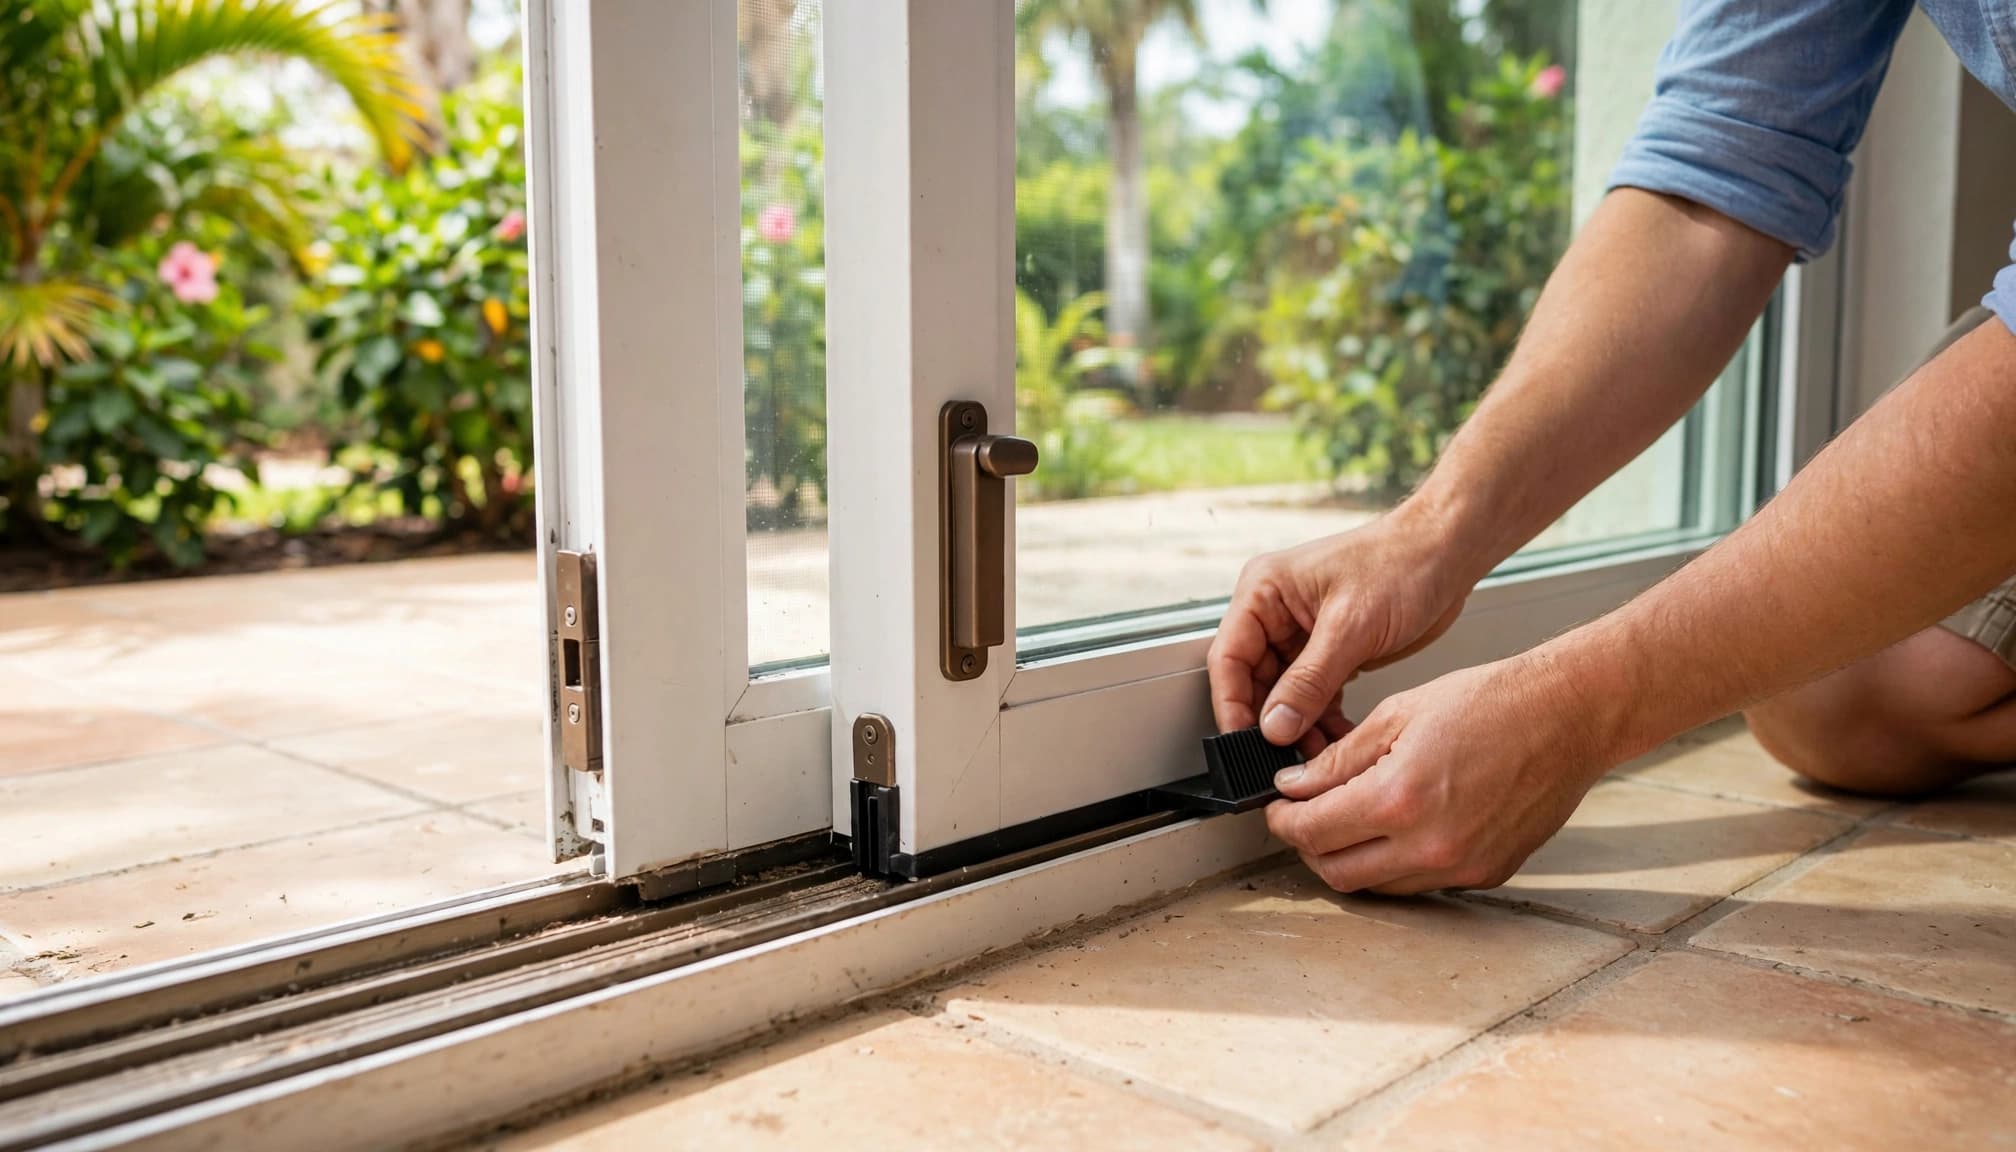
Confirm the Correct Replacement Guide
Sliding door hardware isn't universal. Guides may differ in shape, mounting position, fastener type, and how they interact with the frame or track.
Compare the old and new parts
Before removing the existing guide, take clear photos of its position. Photograph the lower corner, nearby track, fasteners, and any spacers or covers. These images give you a reference if the old part comes off before you understand its orientation.
Place the new guide beside the old one when possible. Compare the contact surfaces and mounting points without forcing either part into place. A guide that looks close in size may still sit too high, too low, or too far from the panel.
Check the product packaging or manufacturer's instructions for the exact door model or hardware type. Don't assume a guide fits because it has the same general shape.
Separate guide problems from handle problems
A door that rolls smoothly but is difficult to grip has a different problem. Many older sliders use a shallow recessed pull that encourages twisting or tugging.
For compatible doors, Luuv Handle fits over existing hardware instead of replacing the lock assembly. Its handles are made in the USA, use steel and water-resistant oak, and are patented through 2037. The retrofit requires no alteration to the door and no drilling.
Luuv Handle products are made for sliding doors with 7.25-inch by 1-inch door plates. Confirm those measurements before ordering, and use the retrofit door handle compatibility guide for the handle's fit requirements. This compatibility information applies to the handle, not to the bottom guide.
Remove the Old Bottom Guide Safely
The removal process depends on how the guide attaches to your door. Some designs use visible fasteners, while others may connect to a track component or door frame detail.
Follow the part's removal instructions
Read the replacement guide's instructions before touching the old hardware. Use only the tools and removal steps the manufacturer lists. If the instructions require access beneath the panel, confirm how the door must be supported before proceeding.
Don't pry against the glass, use the frame as a lever, or loosen structural fasteners that aren't part of the guide. A heavy glass panel can shift suddenly if its support changes.
If you can't identify which fasteners belong to the guide, stop and ask a qualified door technician. The cost of a short inspection is lower than the risk of damaging the glass, frame, or threshold.
Protect the surrounding hardware
Keep small screws, clips, and spacers in a container as you remove them. Label their location or take another photograph before separating parts.
Inspect the exposed area for cracks, bent metal, crushed plastic, loose weatherstripping, or water damage. A damaged mounting surface may prevent the new guide from sitting squarely.
Don't remove the glass panel unless the product instructions specifically require it and you have the equipment and help to control its weight. Panel removal often requires two people and proper support.
Install and Align the New Guide
Once the old guide is out, clean the mounting area and compare the replacement part with your photos. The guide should sit in the position specified by its manufacturer, with no forced bending or improvised shims.
Position the guide correctly
Set the guide against the lower edge or frame location identified in the instructions. Keep the door supported as directed, and make sure the guide contacts the correct surface without pressing hard against the glass.
Install the original fasteners only if the instructions call for them. If the replacement includes new hardware, use that hardware rather than substituting screws that may be too long or too large.
Tighten fasteners evenly. Over-tightening can distort plastic or thin metal, while loose hardware can let the guide shift during operation. The correct tension depends on the replacement design.
Test before closing everything
Move the door slowly through its full travel. It should pass the guide without scraping, catching, chattering, or jumping. Test both directions and watch the lower edge as it crosses the track.
Check the reveal around the frame when the door is closed. Uneven gaps can indicate that the rollers or panel alignment need attention. Confirm that the lock and latch still engage normally.
If the door binds after installation, don't force it. Recheck the guide's position against the instructions, then inspect the track and rollers. A guide may be correctly installed while another worn component causes the resistance.
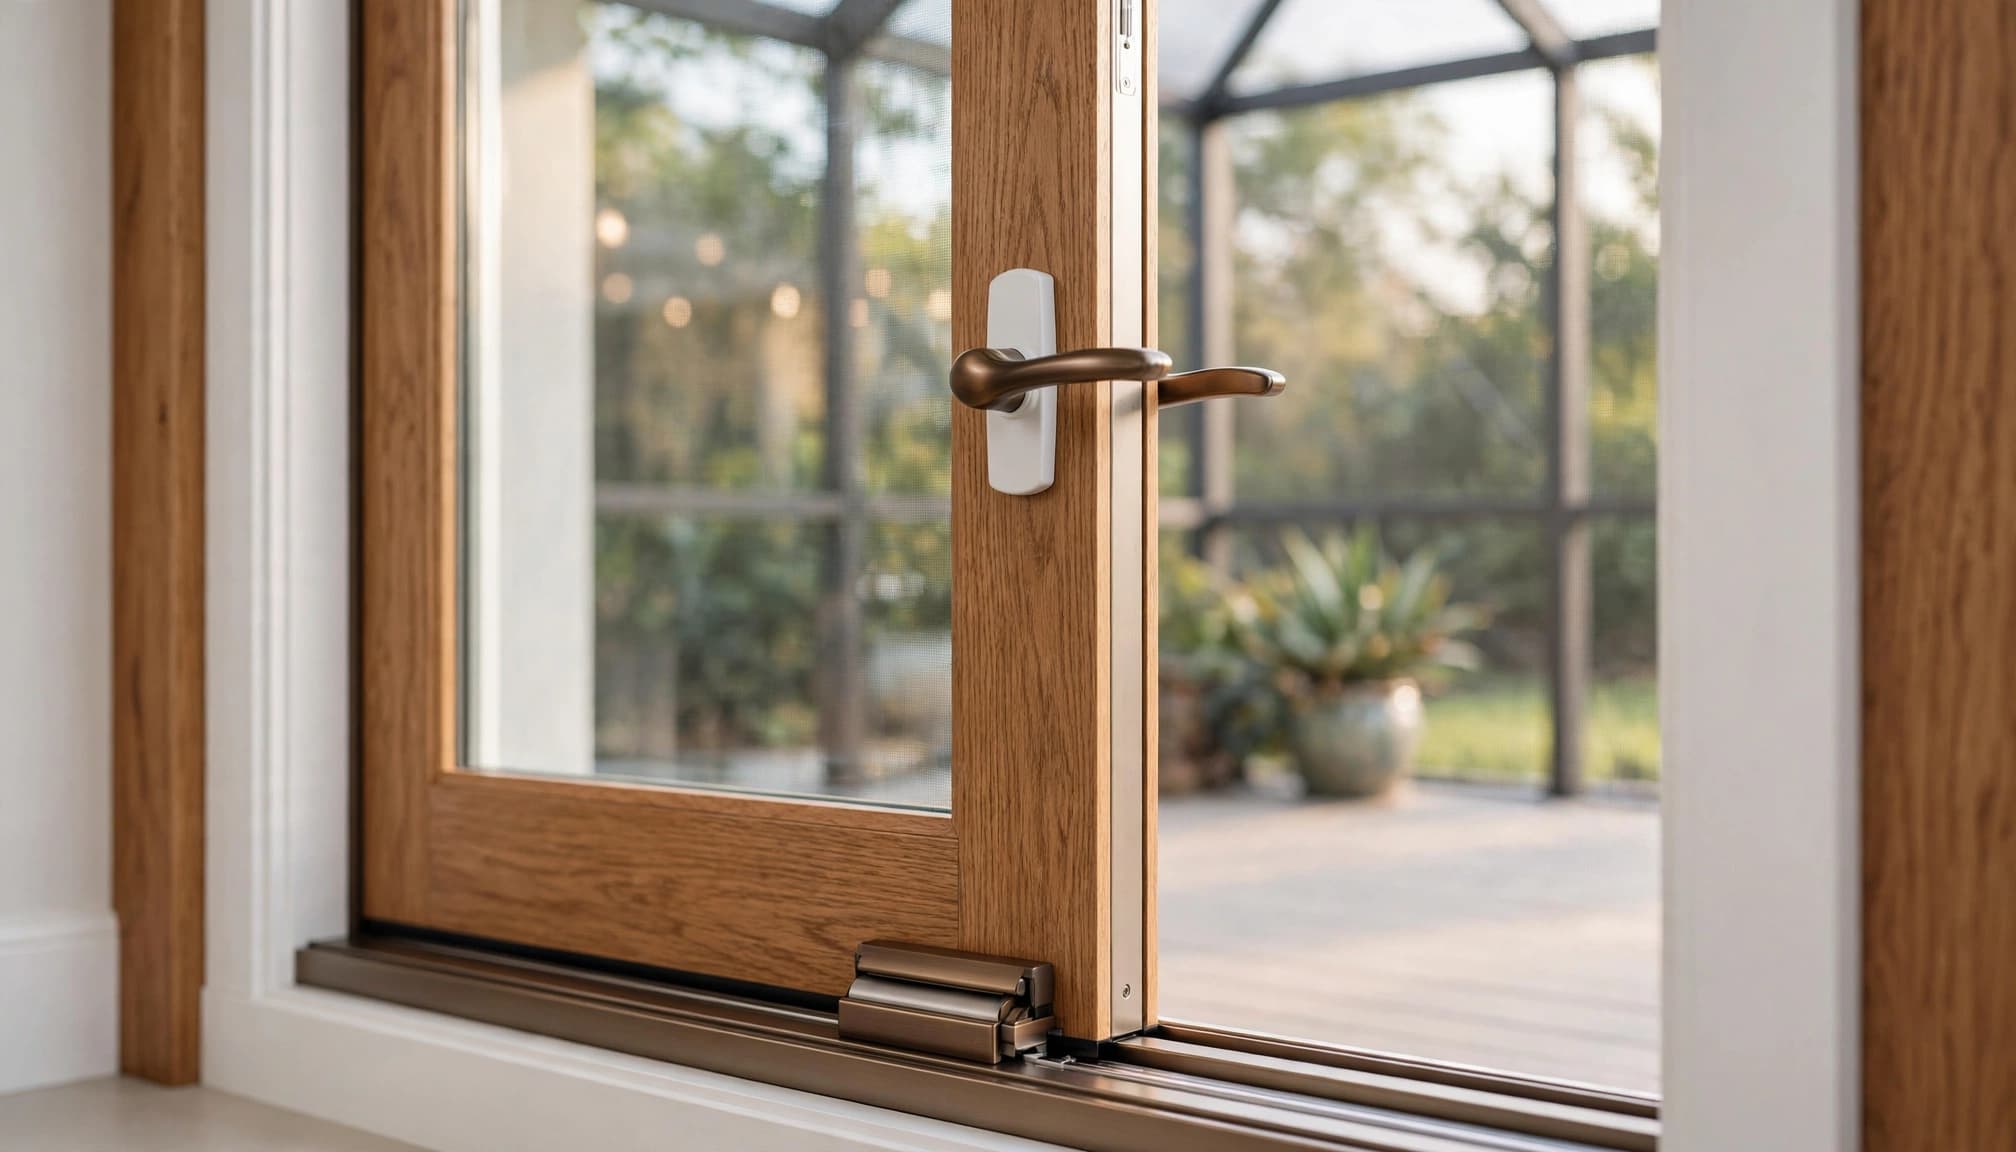
Add a Better Grip After the Door Runs Properly
A bottom guide affects alignment and travel. It doesn't make a shallow handle easier to hold. Once the panel rolls, closes, and locks correctly, you can address the grip separately.
Choose a no-drill retrofit handle
A Sliding Glass Door Replacement Handle can improve control when the original recessed pull is too small, loose, or uncomfortable. Luuv Handle's retrofit design fits over compatible existing hardware, so the original lock and latch remain in place.
The product is made in the USA and is patented through 2037. It requires no alteration to the door and no drilling, making it useful for homeowners, renters, and property managers who want a reversible improvement.
The handles are available in white and bronze finishes, with interior, exterior, and inside-and-outside options. Browse the sliding glass replacement door handles after confirming your existing plate measures 7.25 inches by 1 inch.
Install the handle without changing the door
For a compatible Luuv Handle, the installation takes about 30 seconds. The general sequence involves loosening the screws from inside, sliding the handle over the existing plate from outside, seating the top cap, and tightening the screws again.
Use the sliding door handle installation guide for the complete mounting sequence. Don't apply those handle instructions to the bottom guide, since the two components attach differently.
After tightening the handle, open and close the panel several times. Make sure the new grip doesn't interfere with the screen door, lock, latch, frame, or weatherstripping.
FAQ: Sliding Door Bottom Guide Replacement
Can I replace the bottom guide without removing the glass?
Sometimes, but the answer depends on the door and replacement part. Many repairs can be completed in place, while other designs require access beneath the panel. Follow the guide manufacturer's instructions rather than assuming the panel can stay installed.
Never lift or remove a heavy glass panel without proper support and help. Stop if the panel leans, rattles, has cracked glass, or feels unstable.
Should I replace the guide if the door is hard to open?
Not automatically. Clean the track first, then check for worn rollers, a bent rail, and uneven frame gaps. If the panel still drags after cleaning, the rollers may need adjustment or replacement.
A guide is more likely to be involved when the panel shifts, rubs at a lower edge, or loses alignment in a way that matches the guide's location. Use the replacement part's fit instructions to confirm the diagnosis.
Can a retrofit handle fix a damaged bottom guide?
No. A retrofit handle improves the handhold on a door that otherwise works correctly. It won't repair a bent track, damaged guide, worn roller, or loose panel.
Luuv Handle's no-drill design is separate from bottom-guide repair. It fits over compatible existing handle hardware, keeps the original lock and latch in place, and doesn't require door alteration.
When should I call a professional?
Contact a qualified sliding-door technician if the glass is cracked, the aluminum stile is bent, the panel comes off track repeatedly, or the door grinds heavily after cleaning.
Professional help also makes sense when the guide sits beneath a heavy panel, the track is crushed, or you can't identify the correct fasteners. Stop immediately if the frame twists or the glass shifts during inspection.
Conclusion
Replacing a sliding door bottom guide starts with diagnosis, not removal. Clean the track, check the rollers and alignment, compare the replacement part, and follow its instructions for safe installation.
Once the panel moves smoothly and the lock lines up, a compatible Luuv Handle can improve daily use without drilling or altering the door. The handle is made in the USA, patented through 2037, and designed to fit over existing hardware when the 7.25-inch by 1-inch plate matches.