

A sliding glass door that bangs against its stop can sound worse every time you close it. If the bumper is split, missing, or flattened, sliding door bumper replacement may restore a cushioned stop before repeated impacts damage the surrounding frame.
First, check what the panel is striking on your sliding doors. A new bumper can soften a normal stop, but it can't straighten a bent jamb, repair cracked glass, or make failing rollers glide smoothly. A quick inspection will tell you whether this is a small track repair or a job for a door professional.
Check the impact point before buying a bumper
Close the door slowly and watch how the moving door panels meet. Note where contact happens and whether the panel reaches its normal closed position without force. Then open it and inspect the bumper, its mounting area, and the nearby frame, since worn patio door bumpers are only one possible cause of impact.
Signs the bumper has worn out
A missing section, split PVC, compressed fins, or a bumper that slips out of place all point toward replacement. You may also hear a sharp knock where you once heard a softer stop. Compare both ends of the panel's travel if your door has more than one stop.
Rattling doors alone don't prove the bumper is at fault. Gently check whether the panel moves within the frame after it has stopped. Loose hardware, worn rollers, or panel alignment can produce noise even with an intact bumper.
Signs the impact caused more damage
Look for a dent where the panel meets the jamb, a displaced track component, loose fasteners, or a fresh crack in the glass panel. Check whether the lock still engages without lifting the panel. If the gap around the door has changed, the panel may no longer sit square.
A new bumper cushions future contact; it doesn't restore a damaged mounting surface or a panel that no longer aligns with its frame.
Don't test the door by slamming it. If the glass is cracked or the frame has shifted, stop using the panel and arrange a professional assessment.
Match the U-Channel or M-Channel bumper to your track
Patio door bumpers cushion the moving panel as it reaches its stop. Their flexible sides help cushion shock and sound, reducing impact noise and the chance of contact with the door track frame. Sellers may call them sliding door shims, track bumpers, or universal PVC stoppers, but that label doesn't guarantee a universal fit.
Compare the existing profile, not the product name
U-Channel patio door bumpers and M-Channel patio door bumpers have different cross-sectional shapes. Before ordering, photograph the old bumper from above and from its end. Compare that shape with the replacement's end profile. Measure the old bumper's width and length, then check the available space in the sliding door tracks. Patio door hardware varies by model, so match the part to your existing setup.
These listed sizes are examples for standard U-Channel and standard M-Channel bumpers, not a universal fit chart.
| Profile | Example size | Listed color |
|---|---|---|
| M-Channel | 2.25 inches wide by 3.5 inches long | White |
| U-Channel | 2 inches wide by 4 inches long | White |
| M-Channel | 2.25 inches wide by 4 or 5 inches long | White or beige |
A match in width alone isn't enough. The side fins and underside must suit the track's shape so the bumper stays seated without blocking panel travel.
Check material and availability
Some standard bumpers use extruded PVC, including 80 durometer PVC, with softer side fins that flex during installation. Durometer describes material hardness; it doesn't tell you whether a particular bumper fits your track. Check the listing for the actual profile, dimensions, and material rather than relying on “universal” in a product name.
Many replacement parts come in bulk cartons. If you need one, confirm the quantity before ordering. Color matters mainly for appearance; a white or beige bumper that fits securely is more useful than one with the wrong channel shape.
Prepare for sliding door bumper replacement
A clean, visible track makes this small repair safer and easier. Work with the door at rest, keep children and pets away from the opening, and avoid putting your fingers between the panel and jamb.
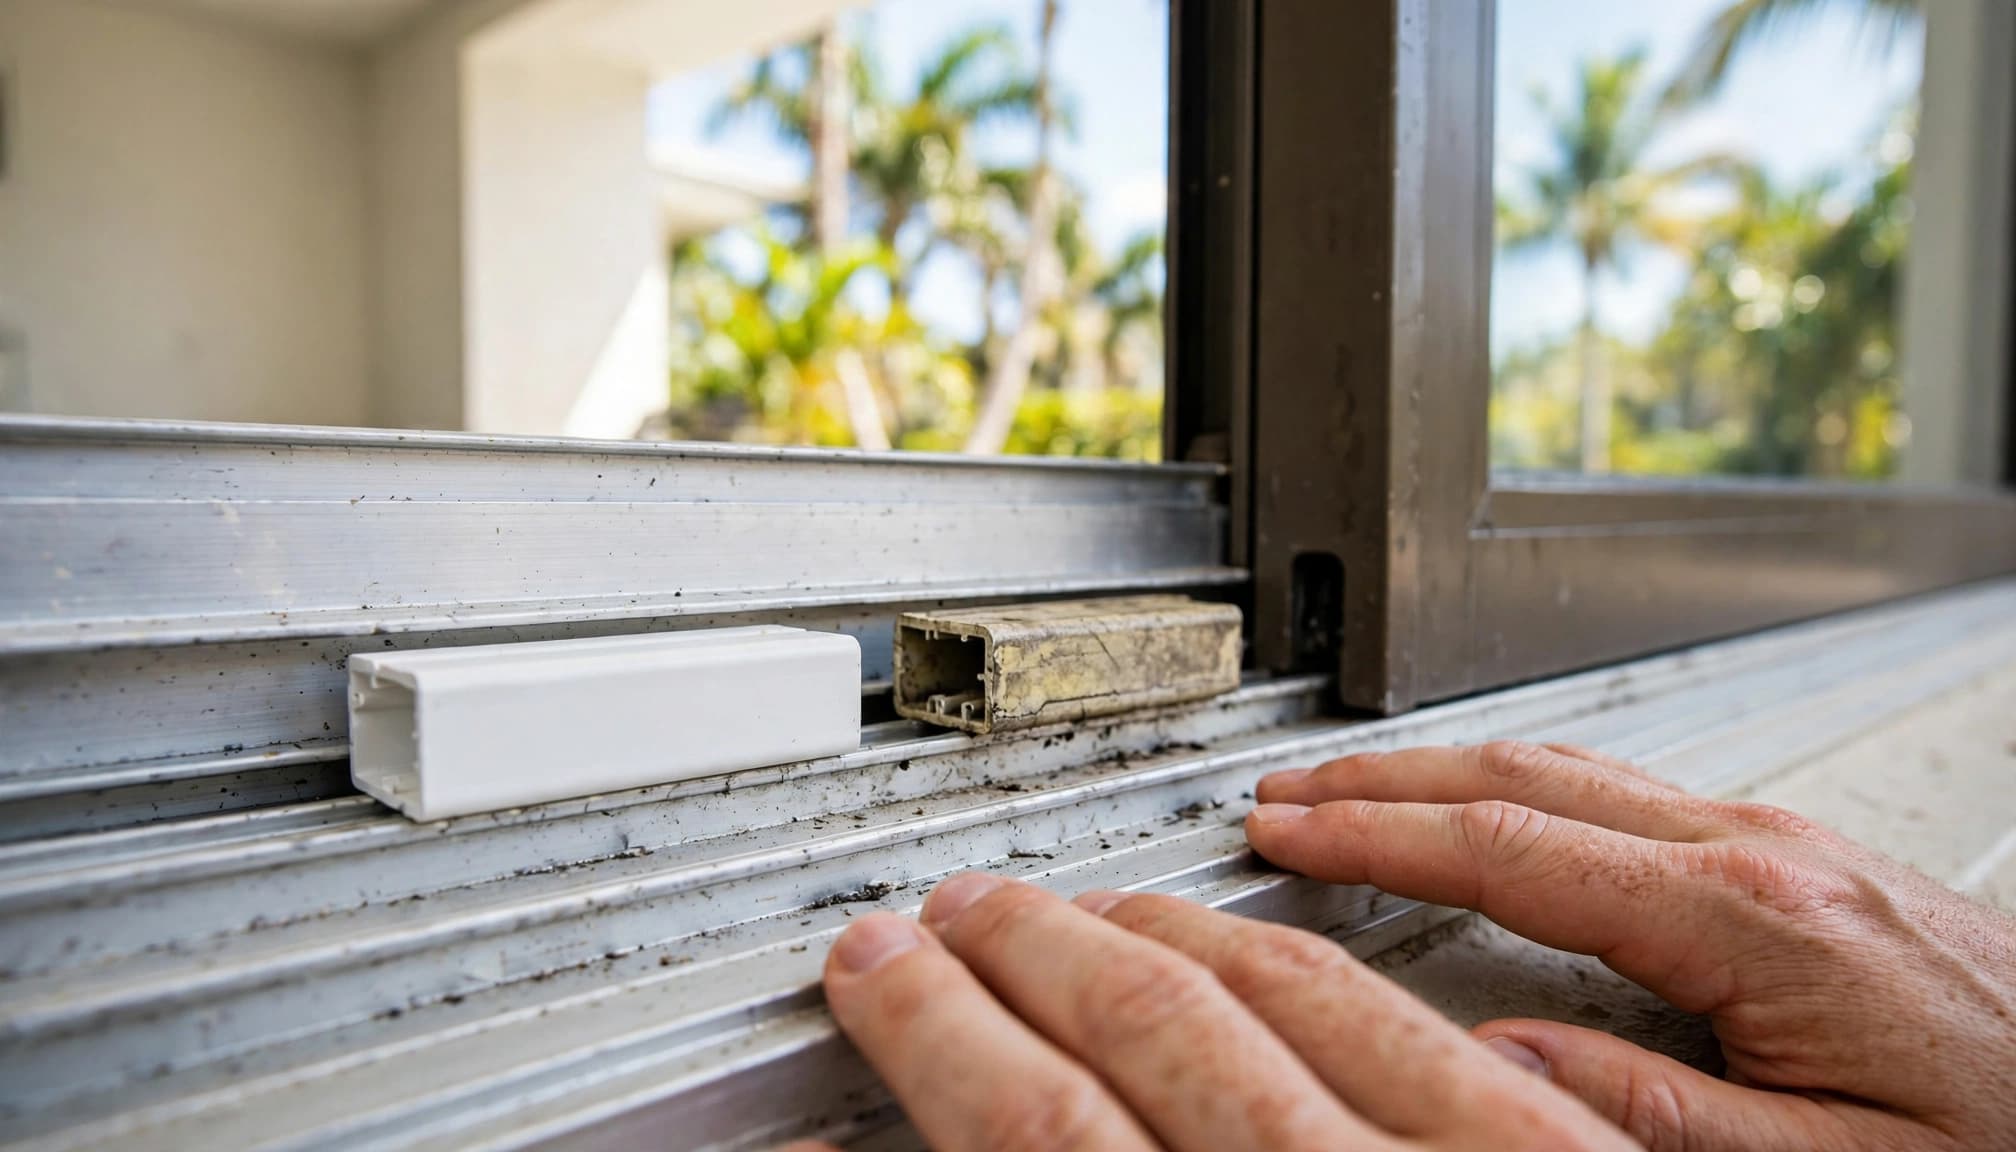
Inspect how the old bumper is attached
Check how patio door bumpers are attached before pulling one. A snap-in bumper has flexible edges that hold against the track; another door may use a fastener or a different stop assembly. If a screw is visible, follow the door or bumper manufacturer's removal instructions. Don't pry against glass, force a rigid part out, or assume every stop releases the same way.
Take a photo before removal. It gives you a reference for orientation and placement when you fit the new part. If the original bumper is missing, identify the mounting location and confirm the correct replacement with a door-parts supplier.
Clean the seating area without changing the track
Once the old part is out, vacuum loose grit and wipe the patio door track's seating area with a damp cloth. Let it dry, then inspect the surface as part of routine door maintenance. A bent lip or crushed mounting channel may prevent a new bumper from gripping.
Keep the roller's running surface and sill drainage openings clear. Don't drill new holes, glue a loose bumper into place, or reshape the rail to compensate for a poor fit. Those changes can hide the real problem and make a later repair harder.
Install a snap-in patio door bumper
For compatible snap-in patio door bumpers with a U-Channel or M-Channel profile, seat one side first, then press the other into place. Laying the whole bumper flat at once makes the side fins harder to engage.
- Confirm orientation. Hold the replacement beside your reference photo. Check that its channel and fins face the same way as the original and that nothing projects into the roller path.
- Start one edge. Set one side of the bumper into its matching track lip. Keep it aligned with the original stop position rather than pushing it along the track.
- Press the opposite edge in. Apply even thumb pressure until that side seats. Work gradually along its length instead of striking it with a hard tool.
- Check the hold. Lightly press around the edges to check that the door bumpers remain seated. The bumper should sit securely without rocking or lifting when the panel approaches it.
If it won't seat with reasonable pressure, stop. Recheck the profile and dimensions rather than trimming the fins or forcing the bumper beneath the panel. Product-specific instructions take priority if your chosen part uses another mounting method.
A properly fitted bumper shouldn't interfere with locking. Close the panel slowly once, then reopen it to see whether the bumper shifted. If it moved, don't rely on repeated slams to press it into place.
Test the repair without slamming the glass
After installing the patio door bumpers, move the door through its normal travel with steady pressure near the handle. Listen at the end of the stroke. A cushioned stop should sound less sharp, and the bumper should stay seated after several gentle passes.
Separate a stop problem from a rolling problem
If the door grinds, jumps, or catches before reaching the stop, check the running track for debris. The rollers or panel alignment may need attention. A bumper can't fix resistance along the door's path.
Likewise, misaligned door panels may strike the bumper at an angle. Check the gaps between the moving panel and frame, then see whether the latch meets its keeper without lifting or pushing the door. Don't keep forcing a misaligned panel just because you've installed a new bumper.
Watch for movement after contact
With the door closed, check that the bumper stays in its channel and the panel rests where it should. A loose stop can rattle even if it initially softens the impact. If the mounting area is damaged or the replacement keeps popping out, a door technician can assess the track and identify the correct stop.
The same applies if the panel still strikes metal or glass near the frame. Continued contact risks more damage, so stop using the door forcefully while you determine why it overtravels.
When the handle, not the bumper, makes the door hard to use
Sometimes a door closes with a normal cushioned stop but feels awkward to move. A shallow or uncomfortable pull can encourage tugging and hard closes. Clean the track and check the rollers, lock, and bumper first; then assess whether a better grip would help you control an otherwise working panel.
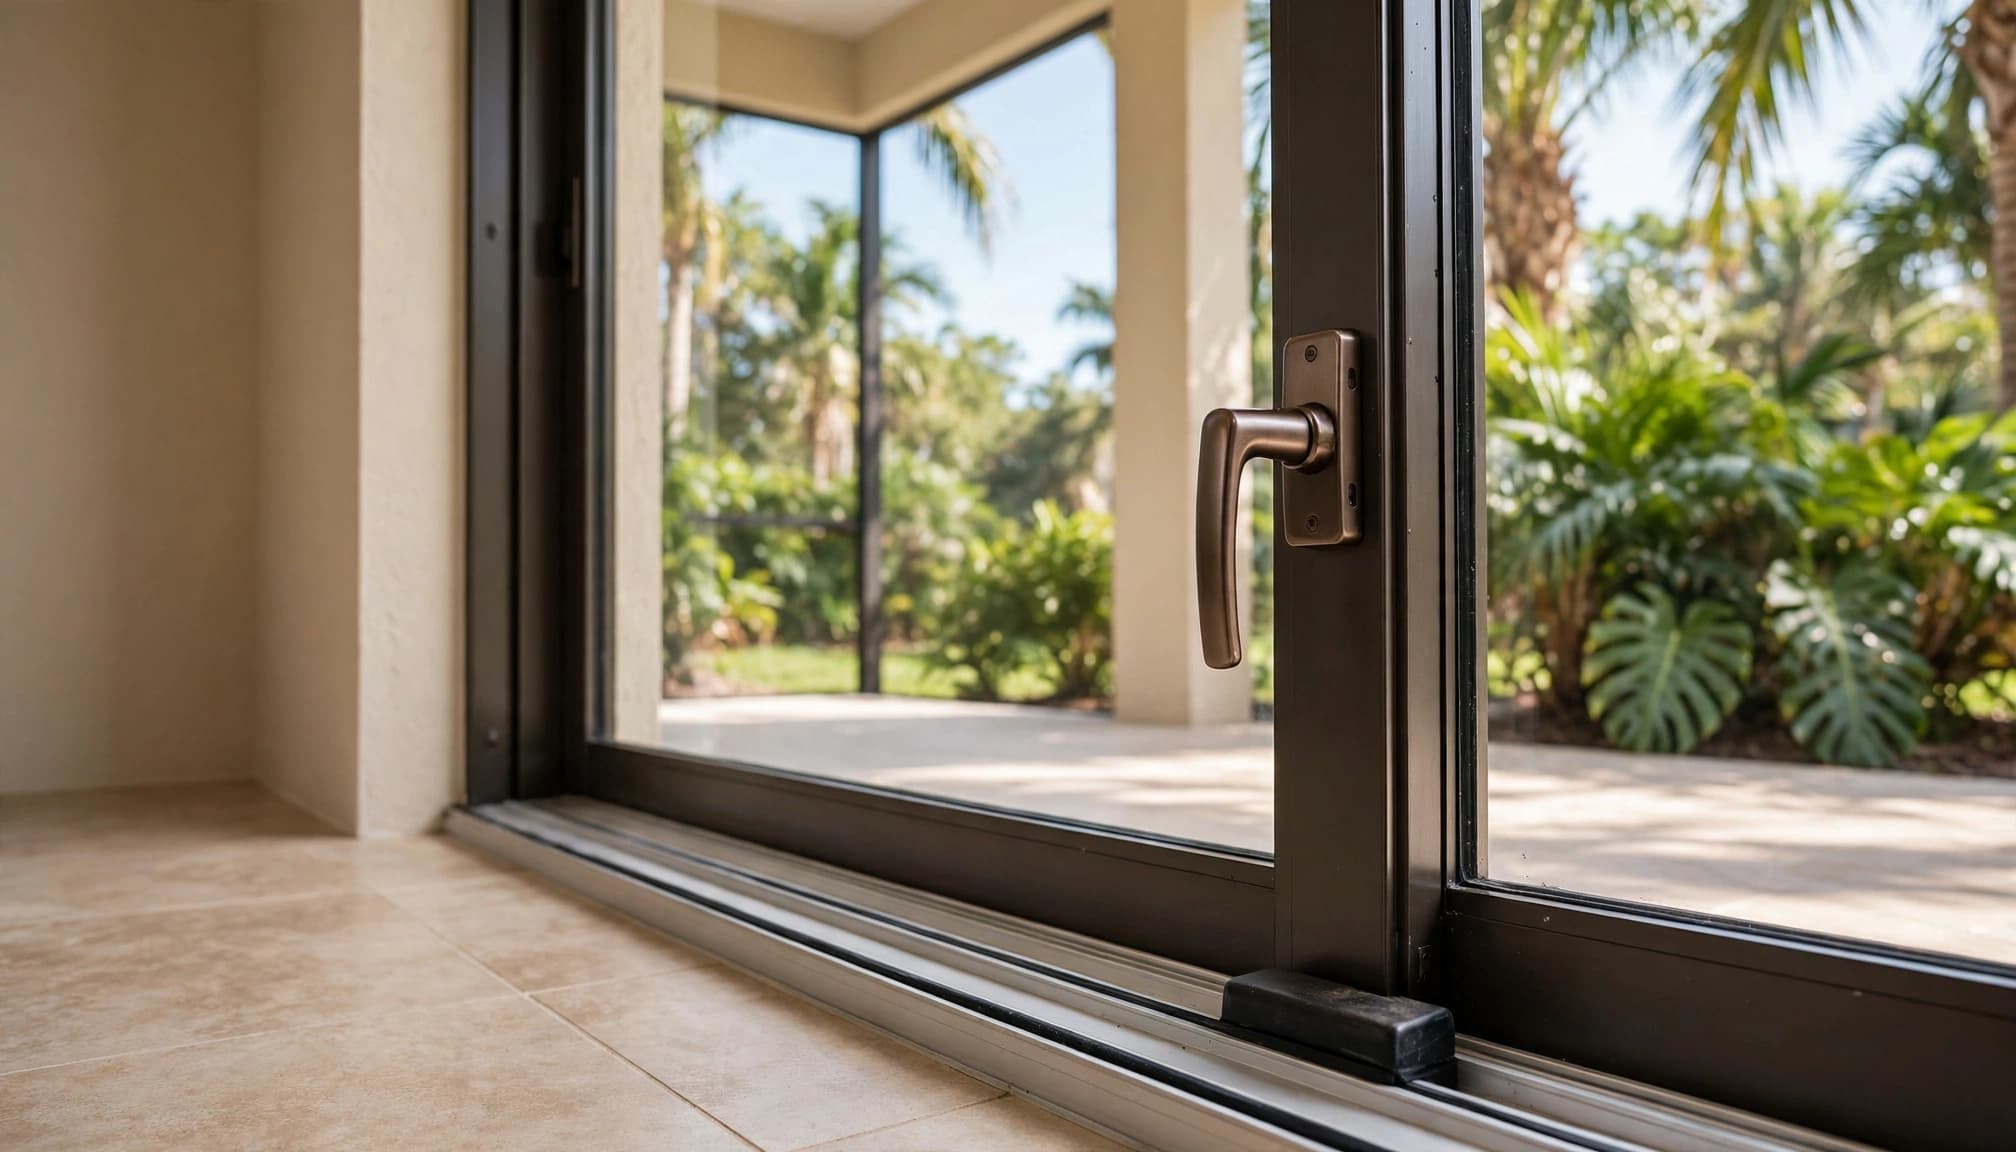
Check handle fit separately from bumper fit
A sliding glass door replacement handle addresses grip, not impact damage. Luuv Handle's retrofit fits over compatible existing hardware and retains the original lock and latch. Its sliding door handle retrofit FAQs specify a 7.25-inch by 1-inch door plate, so measure your plate before ordering. That dimension has no bearing on which track bumper you need.
The handle is made in the USA with steel and a water-resistant oak grip, and it comes in white and bronze finishes. It is a patented product until 2037. For a compatible door, it requires no alteration to the door and no drilling.
Keep the two installations distinct
The bumper snaps into a suitable track channel; the retrofit handle fits over the existing door plate. For the handle, loosen the interior screws, slide the handle into position over the plate, and retighten them. Follow the sliding door handle installation instructions for the mounting sequence.
Before adding a handle, confirm the panel rolls smoothly and the latch works. A firmer grip can help you close the door with control, but it won't fix bent aluminum, a damaged stop, or rollers that grind.
Know when to stop the DIY repair
Call a qualified sliding-door technician if the glass is cracked, the aluminum stile is bent, the jamb is damaged, or the panel grinds severely. If replacement door bumpers won't stay seated or the impact continues, get professional help. A locksmith or door specialist should also assess a lock that won't secure after the panel is properly aligned.
Heavy glass door panels are awkward to lift and easy to damage at the corners. Roller replacement may require removing the panel, so don't turn a bumper swap into an unsupported panel-removal job. If you can't reach the stop safely with the panel in place, ask a professional to handle it.
Key takeaways
- Replace a split, loose, or missing bumper only after checking where the panel makes contact.
- Match the old bumper's profile and dimensions; "universal" doesn't guarantee a fit.
- Seat one side of a compatible snap-in bumper, then press the other into place and test gently.
- Treat cracked glass, bent framing, and severe grinding as separate repairs.
Frequently asked questions
Will a new bumper repair panel impact damage?
No. It can cushion the panel's future contact when the stop and mounting area are sound. Cracked glass, a bent frame, or a deformed track needs its own repair before normal use resumes.
Why does a new bumper keep popping out?
Check whether its channel shape and width match the old part. Also inspect the track lip for damage and confirm the bumper isn't in the panel's running path. Don't use adhesive to conceal a poor fit.
Do I need to remove the glass panel to replace a bumper?
Not necessarily. If you can reach a compatible snap-in stop safely, panel removal may be unnecessary. Stop if access requires forcing the door or lifting a heavy panel without proper support.
A softer stop starts with the right diagnosis
That sharp bang at the end of travel may call for a simple bumper swap. Match the profile, check the mounting area, and test the replacement with gentle closes rather than force.
If the door still strikes hard or moves unevenly, the next fix isn't another bumper. Address the panel, track, or frame problem before impact causes more damage.