

A strip of rubber pulling away from your sliding door's glass can make a small repair look like a major one. Before you buy anything, check whether that strip is a removable glazing gasket. Some doors hold their glass with a different sealing system.
If your door uses a replaceable gasket, the job is to match its shape, remove it without disturbing the glass, and seat the new strip evenly. Start by identifying what has failed.
Check that the glazing gasket is the problem
The glazing gasket runs where the glass meets the surrounding door frame. Depending on the door, it may be visible along one side of the glass or around the panel. Its job differs from the weatherstripping that seals the moving door against the jamb.
Look closely at the glass-to-frame joint
Inspect the strip in good light, especially at the corners. A gasket that has pulled out of its channel, become brittle, or split may need attention. If only a short section has lifted, check whether it can be reseated before ordering a replacement.
Also look for a loose glazing bead, cracked glass, or movement between the glass and frame. Those signs call for more than a new strip. Don't pull on a gasket that appears to be holding the glass in place.
Separate gasket trouble from other door trouble
A draft where the sliding panel meets the fixed frame points toward weatherstripping, adjustment, or alignment. Water around the sill may involve the track or drainage openings. Condensation trapped between the panes of insulated glass points to a failed sealed glass unit; changing the visible gasket won't clear it.
A difficult grip is separate again. If the glass joint looks sound but the recessed pull hurts your fingers, the handle deserves attention rather than the glazing.
Find a replacement that matches your door
Sliding door gaskets aren't universal. A strip that looks close in a product photo may sit too loosely in the frame or put too much pressure against the glass. The door's manufacturer and model are the best starting points.
Identify the door before removing anything
Look for a manufacturer name or model information on the frame, glass marking, or original paperwork. Take clear photos of the gasket along a straight edge and at a corner. Photograph the whole panel, too, so a parts supplier can see how the glass sits in its frame.
If the manufacturer offers a parts diagram, check whether the strip is listed as a glazing gasket, glazing vinyl, or part of a larger glazing assembly. Don't order perimeter weatherstrip because its shape looks similar.
Compare the actual profile
If a short end is already loose and comes away without force, use it as a sample. Compare the shape of its cross-section, the portion that fits into the channel, and the face that meets the glass. An aged sample may have flattened, so confirm the match against door information when possible.
Ask the door manufacturer or a glazing supplier to identify the replacement if you're unsure. Hold off on cutting or removing the old strip until the correct part is in hand. That leaves the door usable if the first order doesn't fit.
Prepare the area without stressing the glass
Choose a dry period when you can leave the door undisturbed. Keep children and pets away from the work area, and wear eye protection and gloves. Glass edges and damaged metal trim can be sharp.
Open the door only as far as needed for access. If the panel could move while you work, secure it without wedging anything against the glass. Lay out the replacement strip and check its condition before starting.
You may need a plastic trim tool to lift an exposed end and a soft cloth to clean the channel. Avoid a metal screwdriver against the glass. Check the door maker's instructions before using cleaners, lubricant, or sealant. A gasket designed to fit dry shouldn't receive adhesive as a substitute for the right profile.
Remove the old glazing gasket carefully
Removal depends on how the door holds its glass. An accessible, removable strip is a different job from a gasket trapped behind glazing beads or a panel that needs disassembly. Stop if the strip resists or the glass shifts.
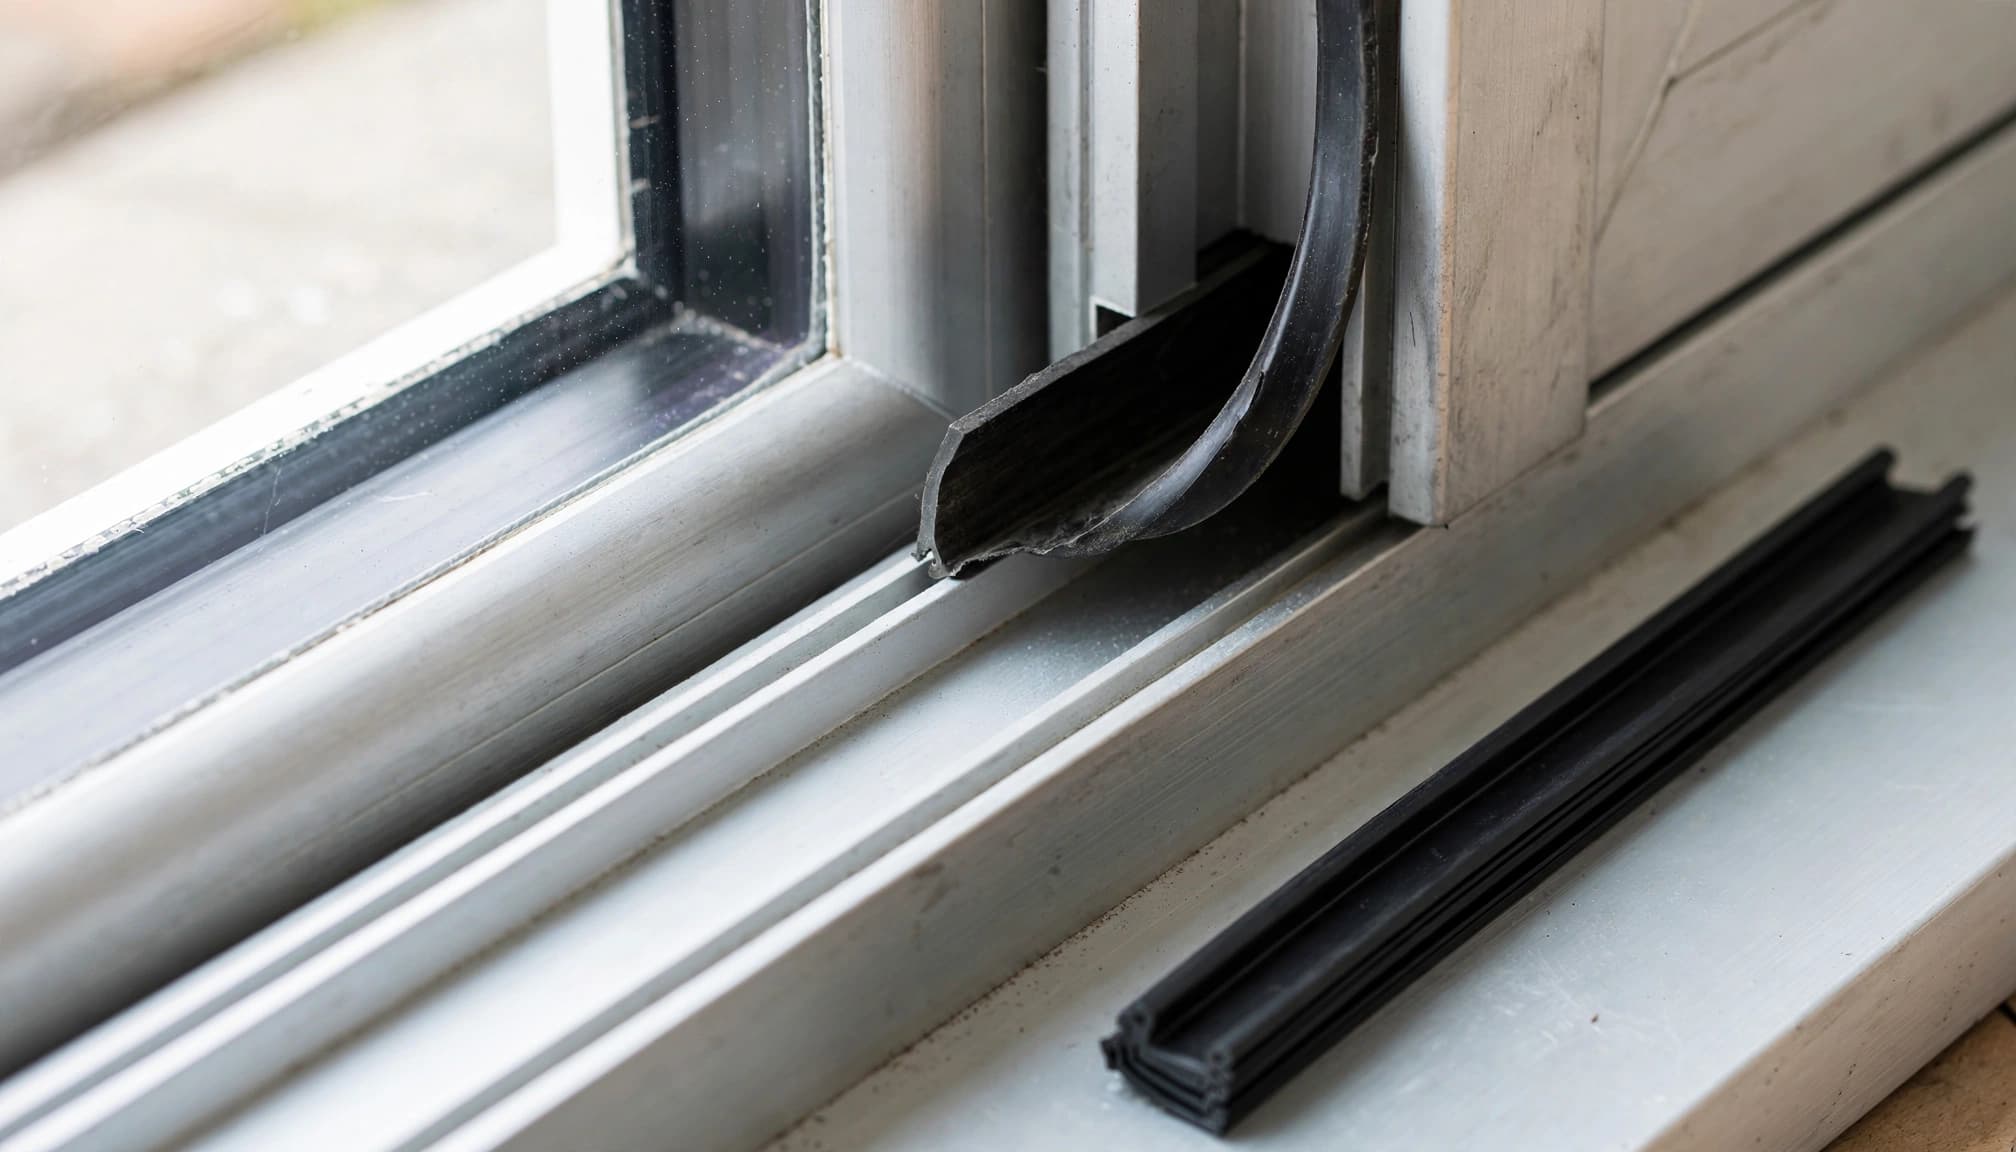
Start at an accessible end
Find a free end or a section that has already lifted. Following the manufacturer's instructions, ease up only enough material to confirm how the strip sits in its channel. Use gentle, steady pressure rather than yanking it around a corner.
Work along the edge in small sections if the gasket releases freely. Keep the old strip intact where possible; it can help you compare the replacement. Watch the glass throughout. If it begins to move, leave the remaining gasket alone and contact a glazing professional.
Clean and inspect the empty channel
Once the removable strip is out, wipe loose dirt from the channel with a soft cloth. Clear out fragments of old gasket without scraping the glass or damaging the frame finish. Let the area dry before fitting the new strip.
Look for bent metal, damaged glazing beads, or old sealant beneath the gasket. Don't dig sealant out without confirming how the door was assembled. If the channel is damaged, a fresh gasket alone may not stay seated.
Seat the new gasket without stretching it
Before pressing the replacement into place, compare it against the old strip and check where its shaped edges belong. Follow any door-specific fitting directions. The aim is an even fit against both frame and glass, without forcing either one.
Work gradually along each edge
Begin where the door maker directs, then press the strip into its channel a little at a time. Keep the profile oriented the same way throughout. If it rolls, twists, or repeatedly pops out, stop and recheck the part rather than pushing harder.
Avoid pulling the gasket tight as you work. Stretching can make it retract later, leaving a gap at a corner. Seat the material with even pressure and keep fingers and tools off exposed glass edges.
Give the corners extra attention
At each corner, check that the gasket follows the frame without bunching or leaving an opening. Follow the manufacturer's directions for corner joints and cutting. Some assemblies need a particular joint arrangement, so don't assume every strip should form one continuous loop.
Before trimming an end, let the fitted section rest and check its position again. Cutting a stretched gasket to length can leave it short after it relaxes. If the corners won't sit properly, confirm the profile before making further cuts.
Test the repair before calling it finished
Inspect the entire glass-to-frame joint from both sides of the door. The gasket should sit evenly, with no twisted sections, raised ends, or open corners. Check that any glazing beads you were instructed to remove are back in their proper positions.
Slide the door slowly and listen for new rubbing. Close and lock it, then check that the panel still sits as it did before the repair. A new gasket shouldn't require you to force the door shut.
During the next rain, look for moisture at the glass edge and note exactly where it appears. Water at the sill may have another cause, so don't assume the gasket is responsible. If the glass moves or the joint leaks after installation, stop using the door until a qualified professional checks it.
Know when to leave glazing work to a professional
Call a glazing professional if the glass shifts, a glazing bead is loose, or the gasket appears trapped inside the frame. The same applies if the panel is cracked, the frame is distorted, or the replacement part won't seat without force.
Fog or droplets between the panes of insulated glass also need a different repair. The visible gasket sits outside the sealed space between those panes. Replacing it won't restore a failed insulated glass unit.
If you can't identify the door or obtain a matching profile, a professional can assess the assembly before anything is removed. That is safer than ordering a strip by appearance and discovering halfway through the job that it doesn't fit.
Handle problems call for a different fix
A sound glazing gasket won't make a recessed sliding door pull easier to hold. If the door slides and locks properly but your hand slips off the handle, consider a grip upgrade separately from the glass repair.
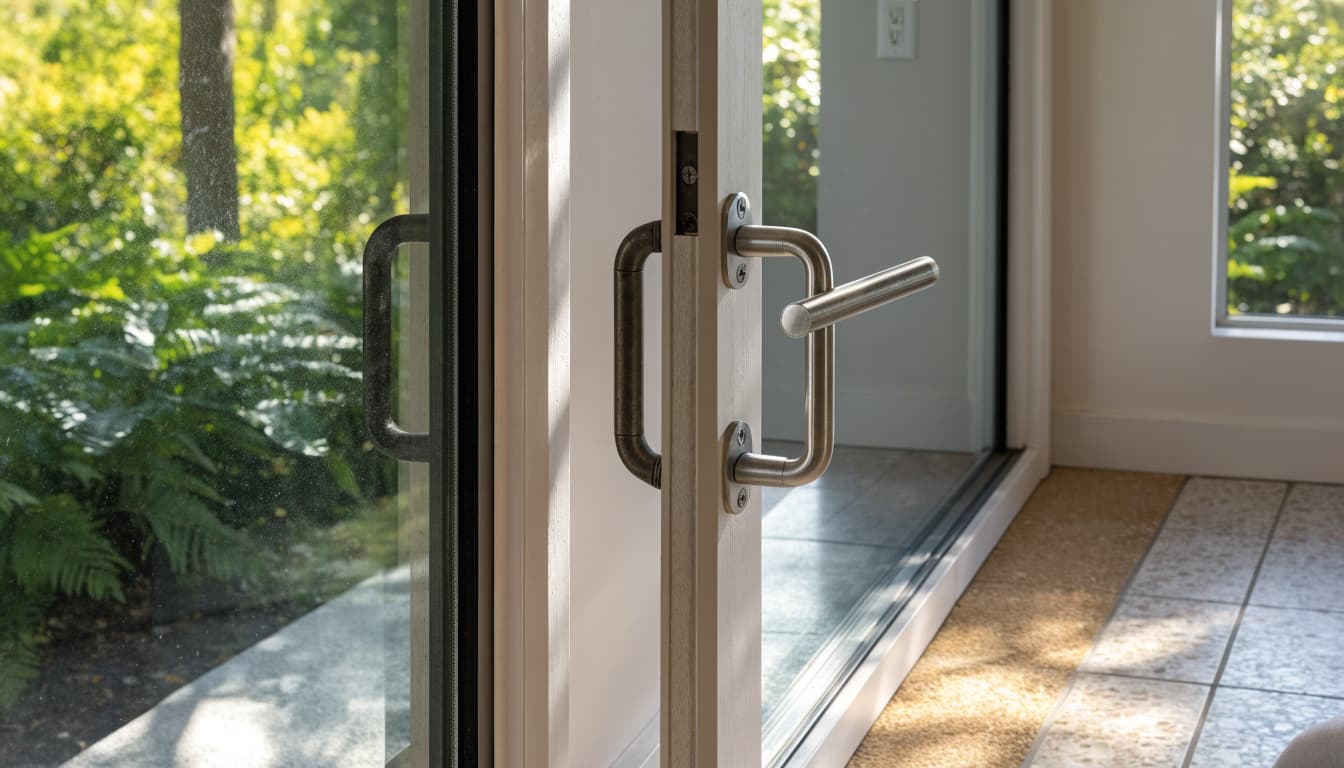
Check the existing handle plate
A sliding glass door replacement handle must suit the hardware already on the door. Luuv Handle's retrofit models fit over existing hardware on sliders with 7.25-inch by 1-inch door plates. Measure your plate first, and check clearance near the jamb and any screen. The Luuv Handle compatibility FAQs explain the fit requirements.
A retrofit grip won't repair a loose latch, worn rollers, or a leaking glass joint. Fix those problems on their own terms before judging how comfortably the door opens.
Keep the door's original hardware
Luuv Handle is made in the USA using steel and water-resistant oak. It is a patented product until 2037. The handle fits over compatible existing hardware, so installation requires no alteration to the door and no drilling. The original handle, lock, and latch stay in place.
Interior and exterior options are available in white and bronze. Luuv Handle says installation takes about 30 seconds; its sliding door handle installation instructions show how to loosen the inside screws, position the retrofit handle, and tighten them again. Those steps apply to the handle, not the glazing gasket.
Key Takeaways
- First, confirm that the worn strip seals the glass to the frame, rather than the sliding panel to the jamb.
- Match the replacement to the door and the gasket's profile before removing the old one.
- Work gently and stop if the glass moves, the strip is trapped, or the new gasket needs force to fit.
- Treat fogged insulated glass, leaks at the sill, and hard-to-grip handles as separate problems.
Frequently Asked Questions
Can I use sealant instead of replacing the gasket?
Don't assume sealant will solve a loose or damaged gasket. It can make a later repair harder and may interfere with a door designed for a removable strip. Identify the assembly and follow its manufacturer's repair instructions before applying anything to the glass joint.
Will a new gasket fix fog between the panes?
No. Moisture trapped between panes indicates a problem within the insulated glass unit. The visible glazing gasket is outside that sealed space. A glazing professional can assess whether the glass unit needs replacement.
Conclusion
A sliding door glazing gasket replacement starts with identifying the joint, not pulling out the first loose strip you see. Once you've found the right part, careful removal, even seating, and a full fit check give the repair its best chance.
If the glass moves or the gasket won't fit, leave the panel intact and get professional help. A door that's hard to grip needs separate handle attention, even when its glazing seal is sound.