

A damaged top guide can make a patio door wobble, scrape, or sit out of alignment. Before ordering parts, confirm that the problem is actually the sliding door top guide, not a dirty track, worn roller, loose lock, or uncomfortable handle.
A careful inspection can prevent an unnecessary repair. This guide covers how to assess and replace a top guide without guessing at dimensions, damaging the glass, or confusing a guide repair with a handle upgrade.
Key Takeaways
- A top guide helps keep the moving glass panel aligned in its upper channel.
- Check the track, rollers, lock, sill, and threshold before replacing it.
- Top-guide sizes and mounting methods vary by door model, so match the old part carefully.
- Never force a heavy glass panel, pry against the glass, or remove the panel without proper support.
- A retrofit handle solves a grip problem, but it won't repair a bent guide, damaged roller, or failing lock.
- Luuv Handle fits compatible 7.25-inch by 1-inch door plates and installs over existing hardware.
- Luuv Handle is made in the USA, patented until 2037, and requires no alteration to the door and no drilling.
Confirm the Top Guide Is the Real Problem
A sliding door can feel difficult to operate for several different reasons. Replacing the upper guide won't fix a seized roller or a track packed with sand.
Top guide versus handle or roller
The top guide sits near the upper edge of the moving panel. It helps hold the panel in the correct position as the door travels across the track. If it is broken, loose, worn, or out of position, the panel may lean, rattle, scrape near the header, or move unevenly.
Start with the lower track. Vacuum loose dirt from the full channel, including the corners near the jamb. Use a soft brush or an old toothbrush for packed debris, then wipe the track with a damp cloth and let it dry.
Next, test the door with steady pressure near its existing handle. A clean, properly aligned door should move without chatter, grinding, jumping, or a need to lift the panel. If the door remains heavy after cleaning, the rollers may need adjustment or replacement.
A shallow recessed pull creates a different problem. When the door rolls normally but feels awkward to grip, a larger retrofit handle may improve control without changing the guide or the lock.
Look for signs that need professional help
Stop the project if the glass is cracked, the aluminum stile is bent, or the frame has pulled away from the jamb. A panel that grinds severely, drops suddenly, or cannot move without force may have a roller or structural problem.
Roller replacement often requires lifting the glass panel out of the frame. Patio door glass is heavy and difficult to control without proper support. A qualified sliding-door technician is the safer choice when the panel must come out or the frame is damaged.
What to Check Before Replacing a Sliding Door Top Guide
Once the top guide appears to be the problem, document the existing setup before removing anything. Door manufacturers use different guide shapes, fasteners, and mounting locations.
Record the old guide's position
Take clear photos of the guide from inside and outside the room. Capture its location, the direction of any retaining lip, and the way it meets the upper frame. Also photograph the top edge of the moving panel before loosening hardware.
Check whether the guide is fastened to the door frame, the header, or a removable insert. Look for loose screws, cracked plastic, bent metal, or missing sections. A guide that has only loosened may need secure fastening rather than replacement.
Do not assume the left and right sides use identical parts. Some assemblies are handed, and the correct orientation can affect how the panel sits in the opening.
Match the replacement part carefully
Measure the old guide only after confirming that the measurement reflects the complete part. Record its length, width, thickness, hole spacing, and overall shape. Compare those details with the replacement part's manufacturer instructions.
The top guide must clear the glass and frame without forcing either one out of position. A part that looks similar can still be wrong if its mounting holes, height, or channel width differ.
If you can't identify the door model or replacement guide, contact the manufacturer or a sliding-door repair professional. A small amount of research is cheaper than damaging the frame or ordering a part that cannot be installed safely.
Remove the Existing Top Guide Safely
The removal process depends on where the guide is mounted. Some guides use visible screws, while others are held by clips or concealed fasteners. Use the door's instructions whenever they're available.
Release only the approved fasteners
Keep the panel closed or in the position recommended by the manufacturer. Support the door as directed, and avoid putting pressure on the glass while accessing the guide.
Use a properly fitting screwdriver or driver bit. A poor fit can strip the fastener and make removal harder. Loosen each fastener gradually instead of removing one side completely while the guide is under tension.
If the guide won't move after the visible fasteners are loose, stop and inspect for clips, trim, or hidden retainers. Don't pry against the glass, lever against the aluminum frame, or force a stuck component.
Protect the panel and surrounding trim
Place a clean, padded surface nearby for any part that comes loose. Keep tools away from the glass edge, weatherstripping, lock, and screen door.
Never remove a heavy sliding panel alone. If the instructions require panel removal, use enough capable help to control its weight and protect the glass. If the panel feels unstable or begins to tilt, reinstall the fasteners and call a professional.
After removing the guide, clean the upper channel and inspect it for crushed metal, loose debris, or damage. A new guide cannot correct a distorted header.
Install and Align the New Sliding Door Top Guide
A replacement top guide should sit in the same functional position as the original, but the exact mounting sequence belongs to the door's instructions.
Position the guide without forcing it
Compare the new component with the photos you took. Confirm its orientation before placing it against the frame. Align the mounting holes or clips, then start each fastener by hand if the design allows.
Tighten the fasteners evenly. The guide should stay secure without being crushed or pulled out of alignment. Excessive force can deform plastic parts or strip the frame.
Keep the glass panel supported throughout the process. Never use the glass as a lever to move the guide into place.
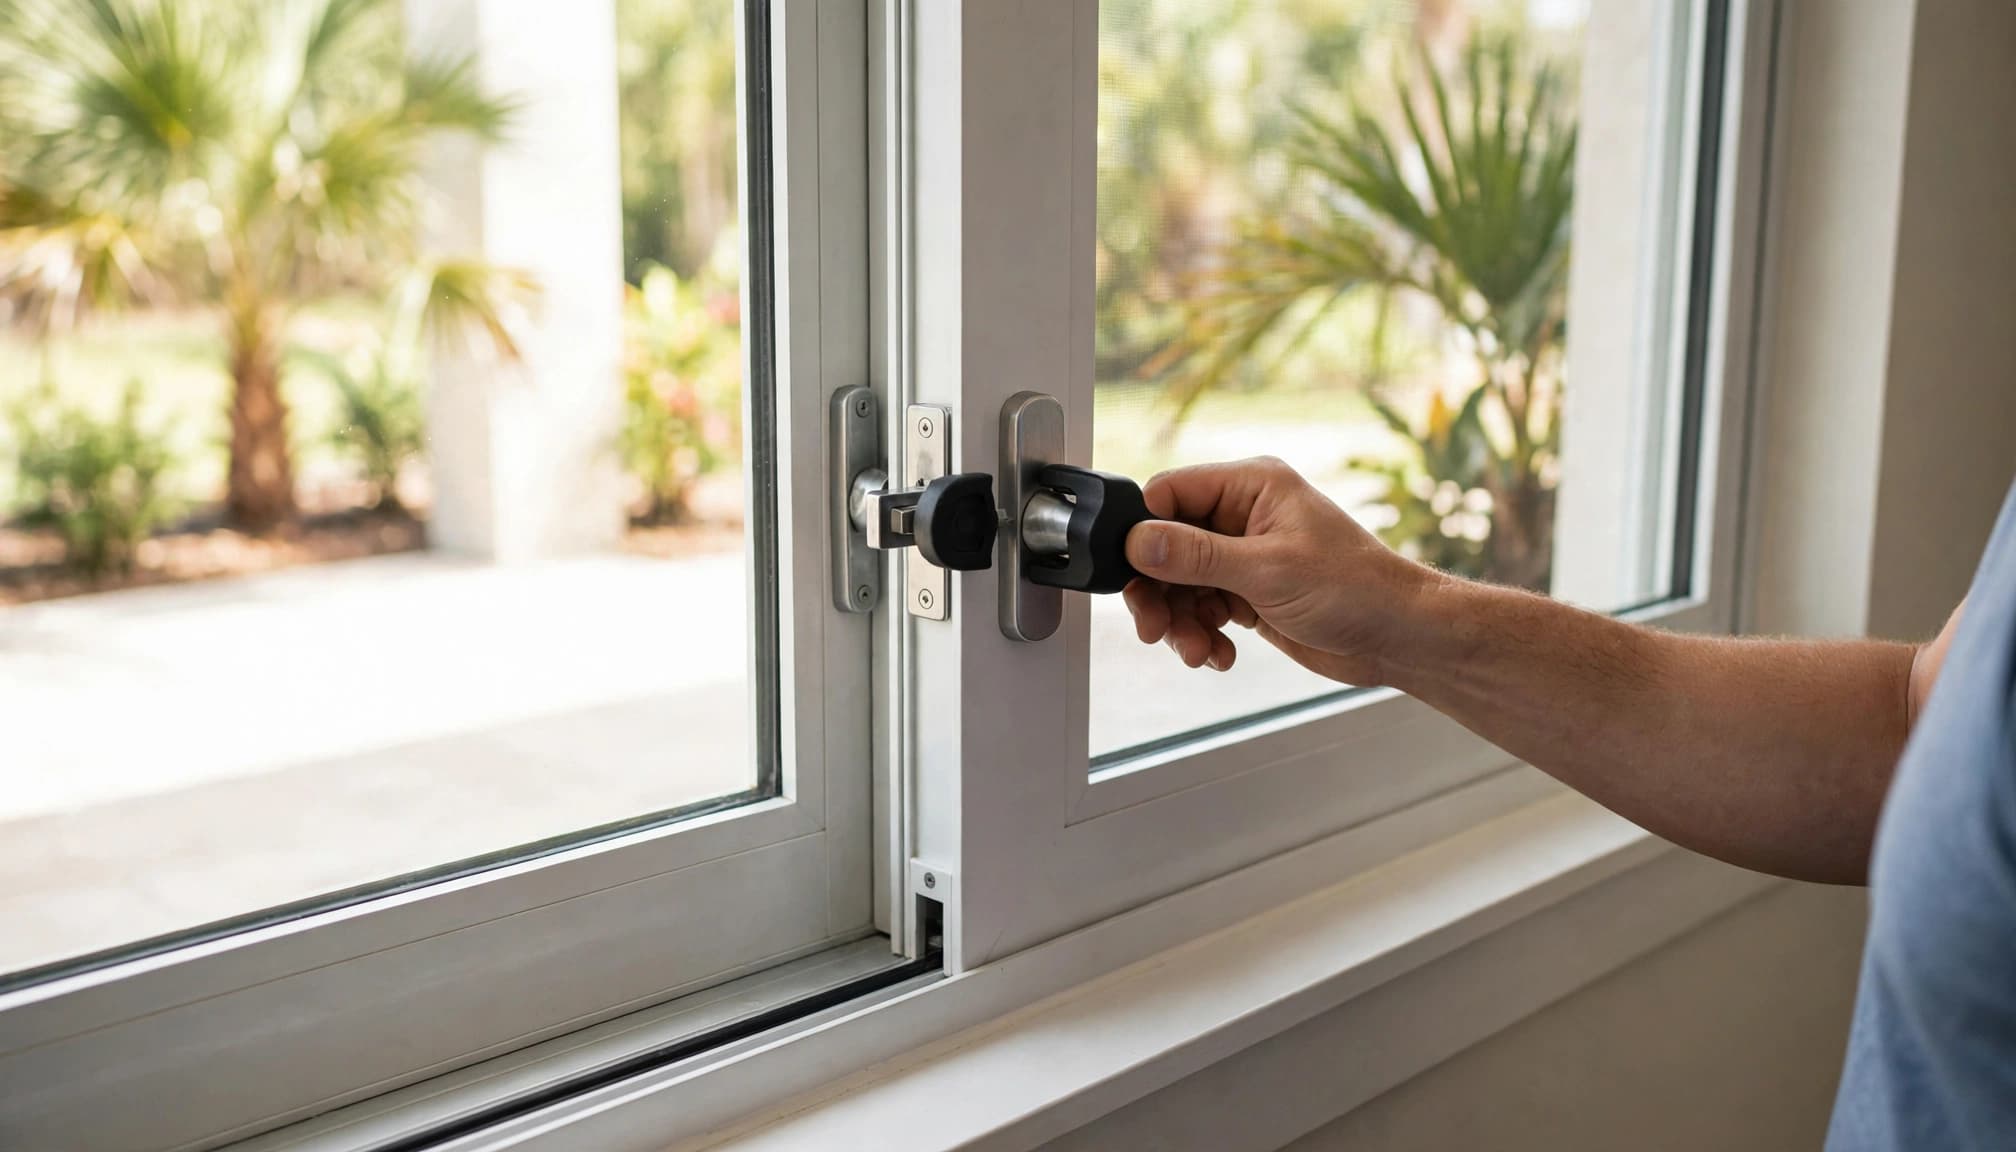
Test movement before final tightening
Move the panel slowly and watch the top edge, lower rollers, side gaps, and lock alignment. The door should travel with steady resistance. It shouldn't scrape the header, rub the jamb, or jump on the lower track.
Close the panel gently and check the reveal around the frame. Uneven gaps can point to roller height or panel alignment rather than a top-guide problem. If the latch misses its keeper, correct the panel position before changing lock hardware.
Make only small adjustments to roller screws, usually about one-quarter turn at a time, and test the door after each change. The correct direction varies by door model, so judge the result by movement rather than assuming clockwise or counterclockwise is correct.
A guide that still rattles, binds, or fails to hold the panel upright may be the wrong part or may be mounted to damaged framing.
Troubleshoot the Door After Installation
Replacing a top guide doesn't automatically restore smooth operation. The guide works with the rollers, track, frame, and latch, so test the entire system.
The door still rubs or binds
Clean the lower track again and inspect it for raised screws, dents, hardened residue, or a crushed section. A roller cannot travel properly over an obstacle, even when the new top guide is correctly installed.
Check whether one corner of the panel sits lower than the other. Uneven gaps and a latch that sits below its keeper often point to roller adjustment. If the door grinds, drops, or remains difficult to move, the rollers may be worn or broken.
Avoid heavy grease and household oil. They collect grit and can turn the track into a sticky buildup. If the manufacturer permits lubrication, use a compatible sliding-door product sparingly after cleaning.
The new guide doesn't match
Do not enlarge holes, cut the guide, drill new mounting points, or alter the door to make an incompatible part fit. Those changes can weaken the frame and affect the glass.
Return to the photos and measurements from the original guide. Confirm the door model, mounting location, handedness, and part dimensions. If the frame is bent or the guide area is damaged, a technician should inspect it before another replacement is attempted.
When a Replacement Handle Is the Better Fix
A top guide controls panel alignment. It doesn't make a shallow recessed pull more comfortable. If the door slides, closes, and locks correctly, the handle may be the only part causing daily frustration.
Add a no-drill retrofit handle
Luuv Handle products fit over compatible existing sliding-door hardware. They don't require removal of the original handle, lock, or latch. The required plate size is 7.25 inches by 1 inch, so measure the existing plate before ordering.
The Luuv Handle is made in the USA and is a patented product protected until 2037. It uses steel with a water-resistant oak grip and comes in white and bronze finishes. Most importantly, it requires no alteration to the door and no drilling.
For compatible doors, installation takes about 30 seconds. Loosen the screws from the inside, move outside, slide the handle over the existing plate, set the top cap, pull the handle down into position, then return inside and tighten the screws.
Follow the Luuv Handle installation instructions for the complete mounting sequence. The original lock and latch remain in place, so this upgrade improves the handhold without replacing the door's security hardware.
Choose the right finish and placement
A white handle can blend with light frames and trim, while bronze can coordinate with darker patio hardware. Choose an interior, exterior, or inside-and-outside option based on where you need a better grip.
You can review the sliding glass door handle compatibility guide before ordering. For a white option, see the white sliding glass door replacement handle. A darker finish is available through the bronze interior sliding door handle.
Browse the full collection of sliding glass door replacement handles only after confirming the plate dimensions and checking clearance with any nearby screen door.
Frequently Asked Questions
Can I replace a top guide without removing the glass panel?
Some guides can be replaced while the panel stays in the frame, but others require panel removal. The mounting design and door model determine the correct method. Never lift or tilt a heavy panel unless the manufacturer's instructions allow it and you have proper support.
Will a retrofit handle fix a damaged top guide?
No. A retrofit handle improves grip, but it doesn't repair a broken guide, worn roller, bent track, or damaged frame. Correct the movement and alignment problem first, then add a handle if the existing pull remains difficult to use.
Does the Luuv Handle require drilling?
No. For a compatible 7.25-inch by 1-inch door plate, it installs over the existing hardware without drilling or altering the door. The original lock and latch stay in place.
When should I call a professional?
Call a qualified technician if the glass is cracked, the frame is bent, the panel grinds severely, or the door must be lifted out of the track. Professional help is also appropriate when the replacement guide doesn't match the existing mounting system.
Conclusion
Replacing a sliding door top guide starts with identifying the real source of the problem. Clean the track, check the rollers and latch, document the existing guide, and match the replacement part before loosening hardware.
If the panel moves correctly but the recessed pull is hard to grip, a Luuv Handle retrofit can provide a larger handhold without door alteration or drilling. The safest repair is the one that fixes the actual fault while preserving the glass, frame, lock, and working hardware.