

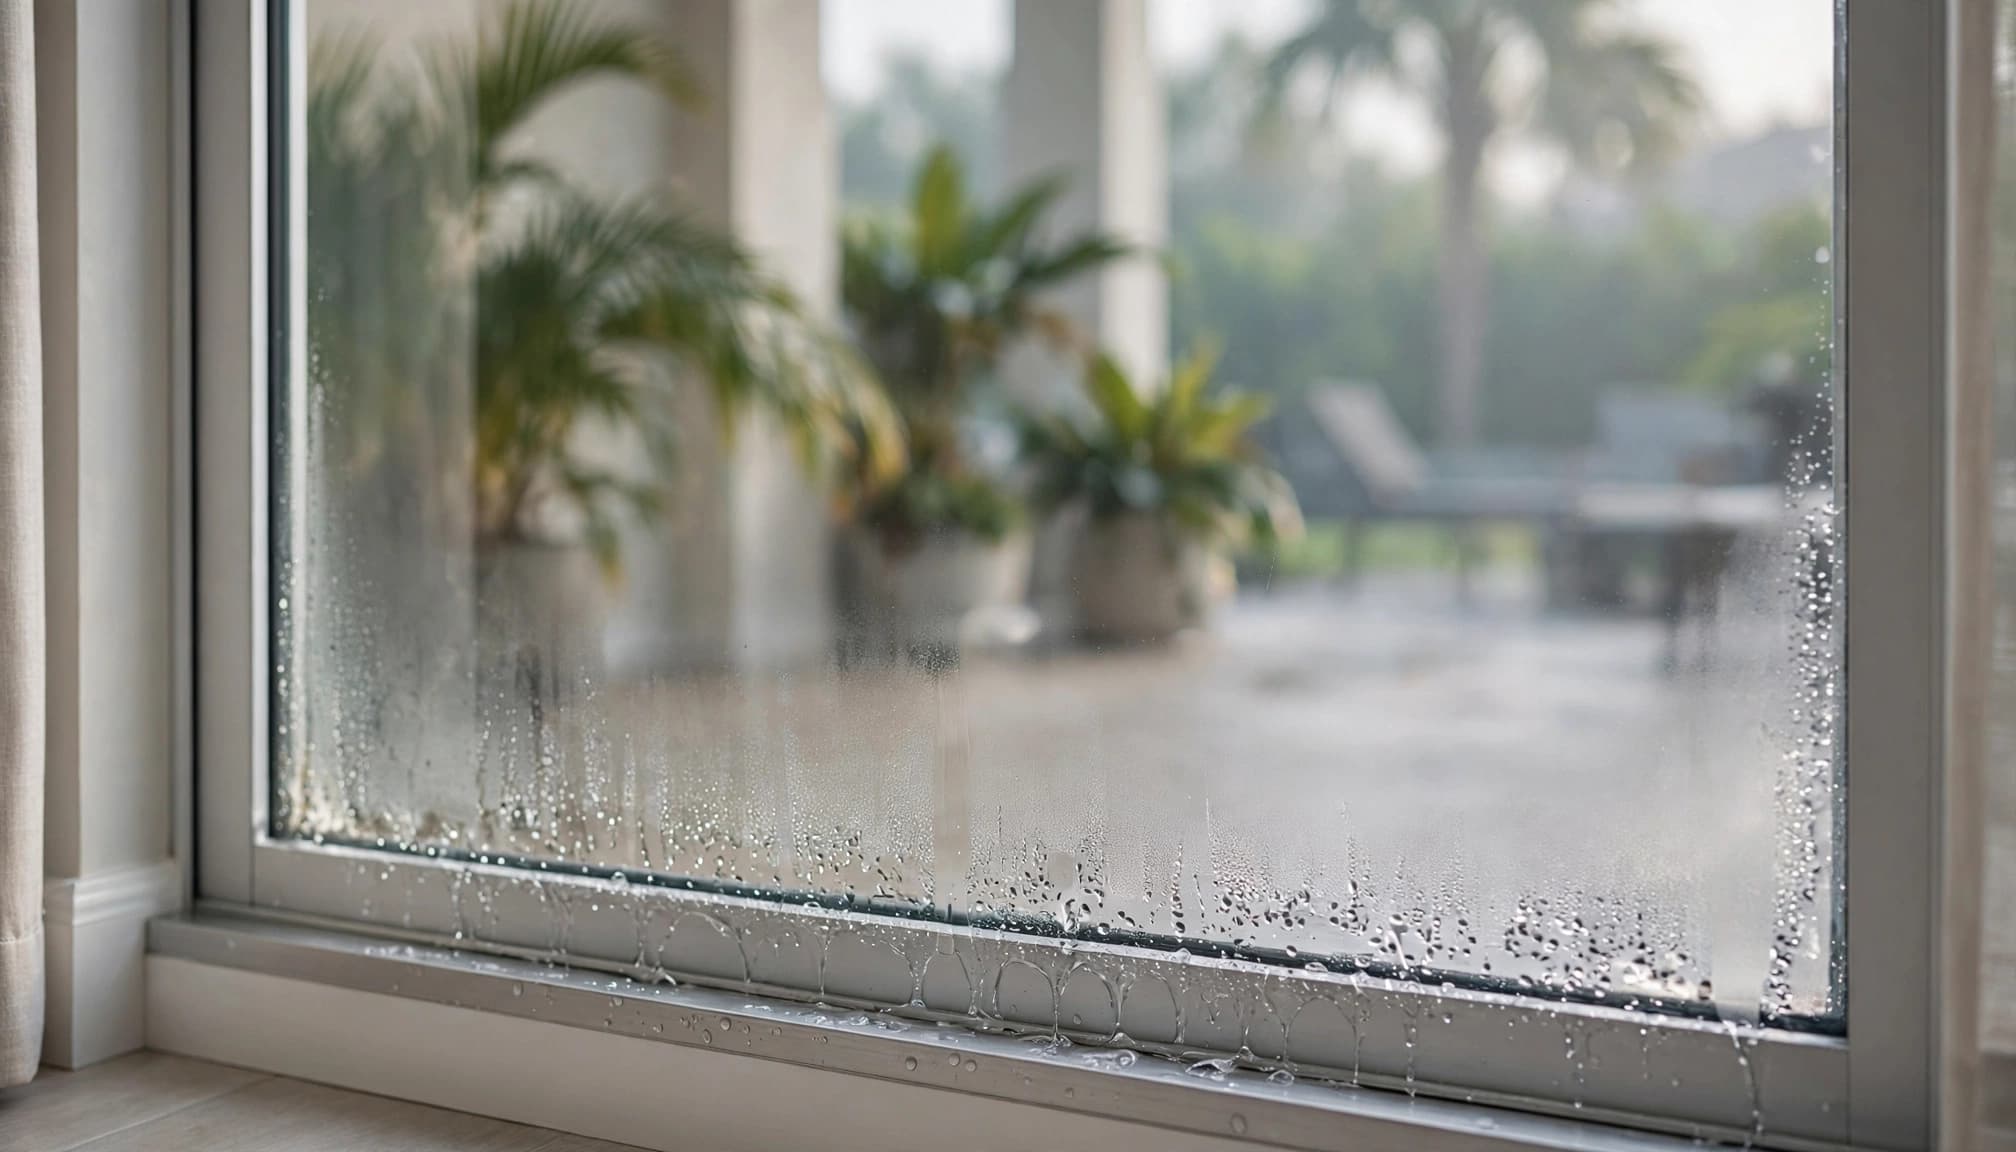
A wet sliding door can make you suspect failed glass before you've found the water's source. Condensation on a sliding glass door is easiest to diagnose by its location: inside the room, outdoors, or between the panes.
Room-side moisture calls for a different response than trapped fog or rainwater entering the sill. Start with a wipe test, then check moisture levels and door operation before buying glass or a new handle.
Identify the Wet Surface Before Choosing a Fix
The same cloudy appearance can point to different problems. First, determine whether you can reach and remove the moisture.
Test the room-facing surface
Run a clean, dry microfiber cloth across a small area of the indoor glass. If the droplets disappear, you've confirmed room-side surface moisture.
Next, dry the lower frame and nearby flooring. Note when the water returns: after showers, during cooking, overnight, or while the air conditioner runs. Those patterns help you choose what to check next.
Also look for water above the sill. Droplets across the glass suggest condensation, while water entering around the frame during rain needs a leak investigation. Both problems can occur together.
Separate exterior moisture from trapped fog
If the indoor wipe leaves the haze unchanged, inspect the outdoor surface when you can reach it safely. Exterior condensation doesn't automatically mean the door has failed.
Moisture that remains after both accessible surfaces are clean may sit between the panes of an insulated glass unit. A glass professional should confirm that location before recommending replacement.
Don't remove a heavy panel to reach the other side. Also, avoid treating unreachable haze with repeated cleaning products. Surface cleaners can't remove moisture inside a sealed glass cavity.
What Causes Sliding Glass Door Condensation Indoors?
Condensation forms when a surface falls below the dew point of the air touching it. For your door, that means checking both airborne moisture and glass temperature.
Indoor moisture supplies the water
Showering, cooking, and drying laundry indoors add moisture to the air. A humidifier can also raise indoor humidity beyond what cold glass can tolerate.
In Southwest Florida, opening a patio door can admit humid outdoor air into an air-conditioned room. However, the moisture location still matters because exterior condensation is a separate issue.
Use a humidity meter to check the room rather than guessing. Compare readings before and after moisture-producing activities. A repeated rise gives you a practical starting point, but one reading doesn't diagnose the entire door.
Cold glass creates the condensing surface
During cold weather, outdoor temperatures can cool the room-facing glass. Single-pane doors and conductive metal frames may develop colder surfaces than better-insulated assemblies.
Meanwhile, a nearby air-conditioning outlet may chill part of the door. Closed curtains can also limit warm room air reaching the glass.
These conditions deserve inspection rather than an automatic replacement order. Two doors in the same room can behave differently because their surface temperatures differ.
A comfortable room temperature doesn't guarantee dry glass. Condensation depends on the temperature at the glass surface and the moisture in the surrounding air.
Bring Indoor Humidity Under Control
Reducing sliding glass door condensation often starts with moisture management. Measure first, then make changes you can compare against the original conditions.
Capture moisture where it starts
Use bathroom exhaust fans during showers and keep them running afterward as needed. Check that they discharge outdoors rather than into an attic.
Similarly, use a kitchen exhaust hood that vents outside when cooking. A recirculating hood filters some cooking pollutants but doesn't carry water vapor outdoors.
Check the clothes dryer exhaust for proper outdoor venting, too. If you're running a humidifier, reduce its setting and watch the glass. Avoid opening the patio door for ventilation when outdoor air is more humid than indoor air.
Use a meter to guide moisture removal
The U.S. Environmental Protection Agency recommends indoor relative humidity below 60%, ideally between 30% and 50%. Cold glass may require a lower indoor moisture level to stay dry.
Place a humidity meter away from direct sunlight, supply vents, and the wet glass itself. Record readings morning and evening for several days.
If humidity remains elevated, consider a properly sized dehumidifier. Follow its drainage and filter instructions. When an air-conditioned home stays damp despite normal cooling, have an HVAC technician check moisture removal rather than repeatedly lowering the thermostat.
Improve Airflow Around the Door
Heavy curtains, tightly closed blinds, and furniture near the glass can restrict room-air circulation. As a result, the space immediately beside the door may remain colder than the rest of the room.
Open window coverings during the day and leave some clearance around the frame. Move furniture that blocks nearby heating or cooling outlets.
Also check where supply air travels. If cold air blows directly against one section of glass, ask an HVAC technician about a suitable adjustment. Don't close multiple vents without guidance because that can affect system performance.
A small fan can help circulate room air, but it doesn't remove moisture from the house. Treat it as an airflow adjustment, not a substitute for exhaust ventilation or dehumidification.
After making changes, compare similar conditions. A dry afternoon doesn't prove you've solved a problem that appears every morning. Keep checking the glass at the time condensation usually forms.
Inspect Closing, Weatherstripping, and Drainage
Moisture management and door maintenance address different issues. Check the slider's condition so you don't mistake a closing problem or rain leak for condensation.
Confirm that the panel closes and locks
Vacuum loose debris from the track, then use a soft brush around corners. Test the panel with steady pressure near its existing handle.
The door should move without severe grinding, jumping, or dragging. Close it fully and confirm that the latch engages without lifting or forcing the panel.
If operation is rough, investigate the track and rollers before buying a larger handle. A comfortable grip improves control, but it can't restore a damaged wheel or straighten a bent rail. Leave heavy-panel removal and complicated adjustments to a qualified technician.
Check seals without blocking drainage
Inspect weatherstripping for missing sections, flattening, or gaps. Also look around the threshold for damage and signs of water entering during storms.
Match replacement weatherstripping to the door manufacturer's profile. Material that's too thick can make the panel difficult to close or lock.
Keep designed drainage openings clear according to the manufacturer's instructions. Never caulk over weep holes to stop visible water. Those openings allow water in the drainage channel to escape.
If water appears mainly during wind-driven rain, arrange a leak inspection. That pattern requires a different investigation than droplets forming across the indoor glass.
Match Professional Repairs to the Actual Damage
Persistent moisture deserves attention, especially when it wets flooring, drywall, or wood trim. Dry those surfaces promptly and investigate recurring dampness.
Use the symptom to identify the next inspection.
| What you observe | Appropriate next step |
|---|---|
| Indoor droplets that wipe away | Review humidity, airflow, and surface cooling. |
| Haze remaining after both surfaces are cleaned | Have a glazier inspect the insulated glass unit. |
| Water entering during rain | Check seals, threshold drainage, and installation. |
| A dragging panel or misaligned latch | Arrange track, roller, and alignment service. |
The right repair depends on the confirmed defect, not the amount of visible fog.
If a glazier confirms an insulated glass seal failure, replacing the sealed glass unit may be sufficient when the frame and operating hardware remain sound. Whole-door replacement needs a broader assessment.
Cracked glass, bent framing, or damaged impact-rated components require professional handling. Don't drill into the frame or remove the panel as a diagnostic experiment.
Upgrade the Handle Only When Grip Is the Issue
A sliding glass door replacement handle addresses an uncomfortable handhold. It doesn't remove indoor humidity, repair glazing seals, or correct a dragging panel.
Confirm compatibility before ordering
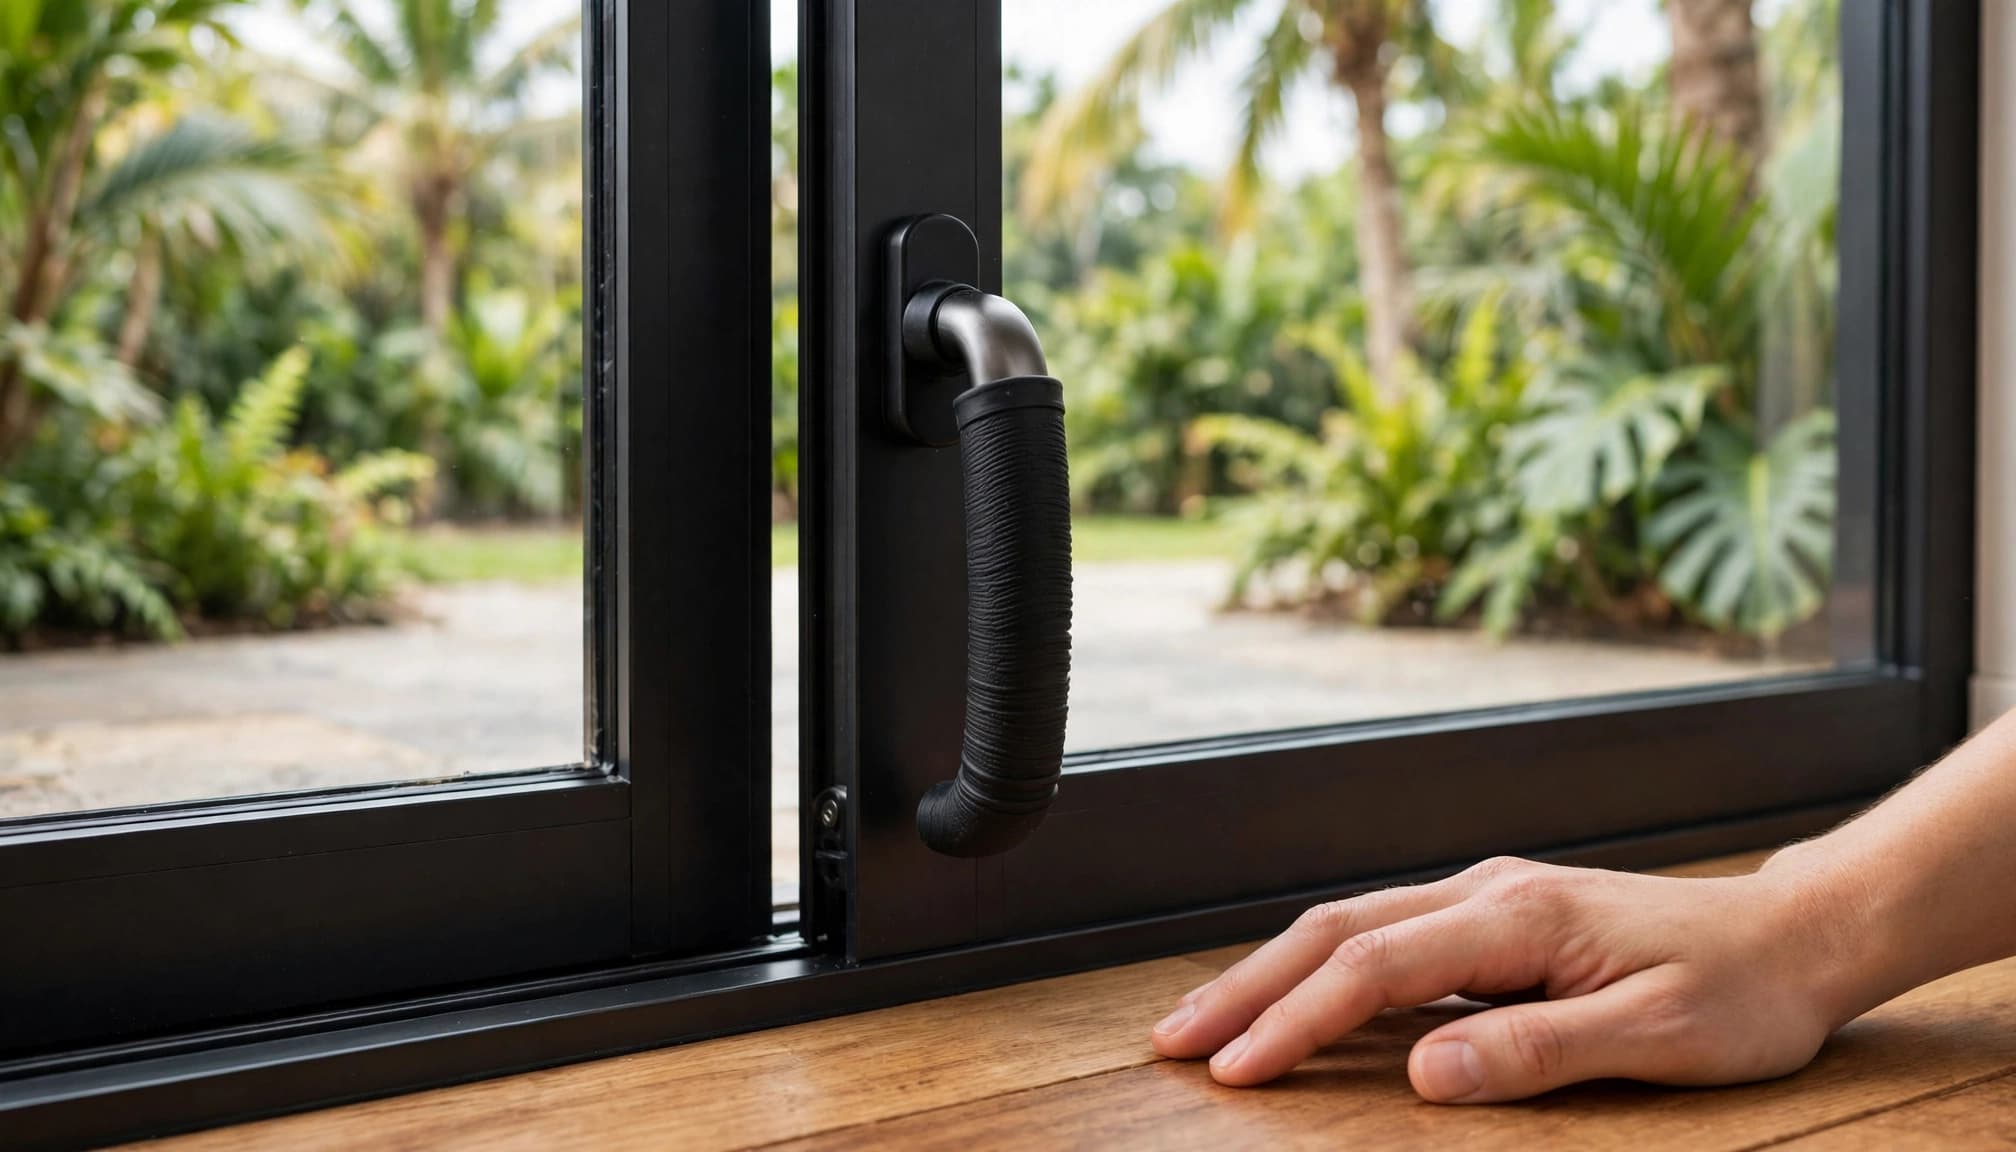
Once the slider moves smoothly and locks correctly, consider whether its recessed pull is difficult to grip. A retrofit can add a more comfortable handhold while retaining working hardware.
Luuv Handle products fit compatible sliders with 7.25-inch by 1-inch door plates. Measure your existing plate and review the sliding door handle fit requirements before ordering. Don't assume every standard-looking handle fits.
Luuv Handle is made in the USA and is a patented product until 2037. Its steel-and-water-resistant-oak construction comes in white and bronze options. The retrofit requires no alteration to the door and no drilling.
Install after moisture and movement checks
The retrofit fits over compatible existing hardware, leaving the original lock and latch in place. It upgrades the grip rather than replacing worn security components.
Luuv Handle advertises installation in about 30 seconds on compatible hardware. Follow the model-specific Luuv Handle installation instructions, including the correct positioning and screw-tightening sequence.
After installation, open and close the panel several times. Confirm that the grip stays secure, the latch works, and any sliding screen clears the new handle. If the original mounting points or lock are damaged, address those defects before adding an overlay.
Key Takeaways
Match each repair to the symptom you've confirmed.
- Wipe the glass first to distinguish room-side moisture from exterior condensation or trapped fog.
- Use humidity readings and recurring moisture patterns to guide ventilation, dehumidification, and airflow changes.
- Inspect rough movement, incomplete closure, and rain-related water separately from surface condensation.
- Choose a retrofit handle for a grip problem only after confirming compatibility and working hardware.
Conclusion: Diagnose the Moisture Before Replacing Parts
Room-side sliding glass door condensation starts with a wet surface, but the repair depends on where the moisture comes from. Confirm its location, then check humidity, airflow, and door condition.
Reserve glass repairs for confirmed glazing problems and handle upgrades for uncomfortable grips. That sequence avoids unnecessary door work and helps you choose a fix that addresses the actual problem.