

Rain on the floor beside a patio slider doesn't always mean the door needs new weatherstripping. Sliding glass door leaks can begin at the track, frame corners, sill, drainage openings, or a failed exterior joint.
Before buying hardware, dry the area and trace the water path. Once the leak source is clear, you can repair the seal or drainage problem separately from a hard-to-grip handle. That distinction can save you from changing a part that wasn't causing the leak.
Key Takeaways
- Start at the wettest point, then trace upward and outward toward the exterior.
- Inspect the lower track, corner joints, threshold, drainage openings, seals, and nearby trim.
- Clean debris before adjusting rollers or replacing weatherstripping.
- A handle doesn't seal a door, and new weatherstripping won't improve a cramped grip.
- Measure the existing plate before ordering a retrofit handle. Luuv Handle products fit a 7.25-inch by 1-inch plate.
- The Luuv Handle is made in the USA, patented until 2037, and requires no alteration to the door or drilling.
Where sliding glass door leaks reveal their entry point
Water often travels before it becomes visible indoors. A small opening at the outside frame can send water along the sill, behind trim, or beneath the track. That makes the puddle's location useful, but not always conclusive.
Begin with a dry inspection during daylight. Use a towel to remove standing water, then place dry paper towels at the interior corners, along the sill, and beneath the center of the track. Mark which section becomes wet first during the next controlled test.
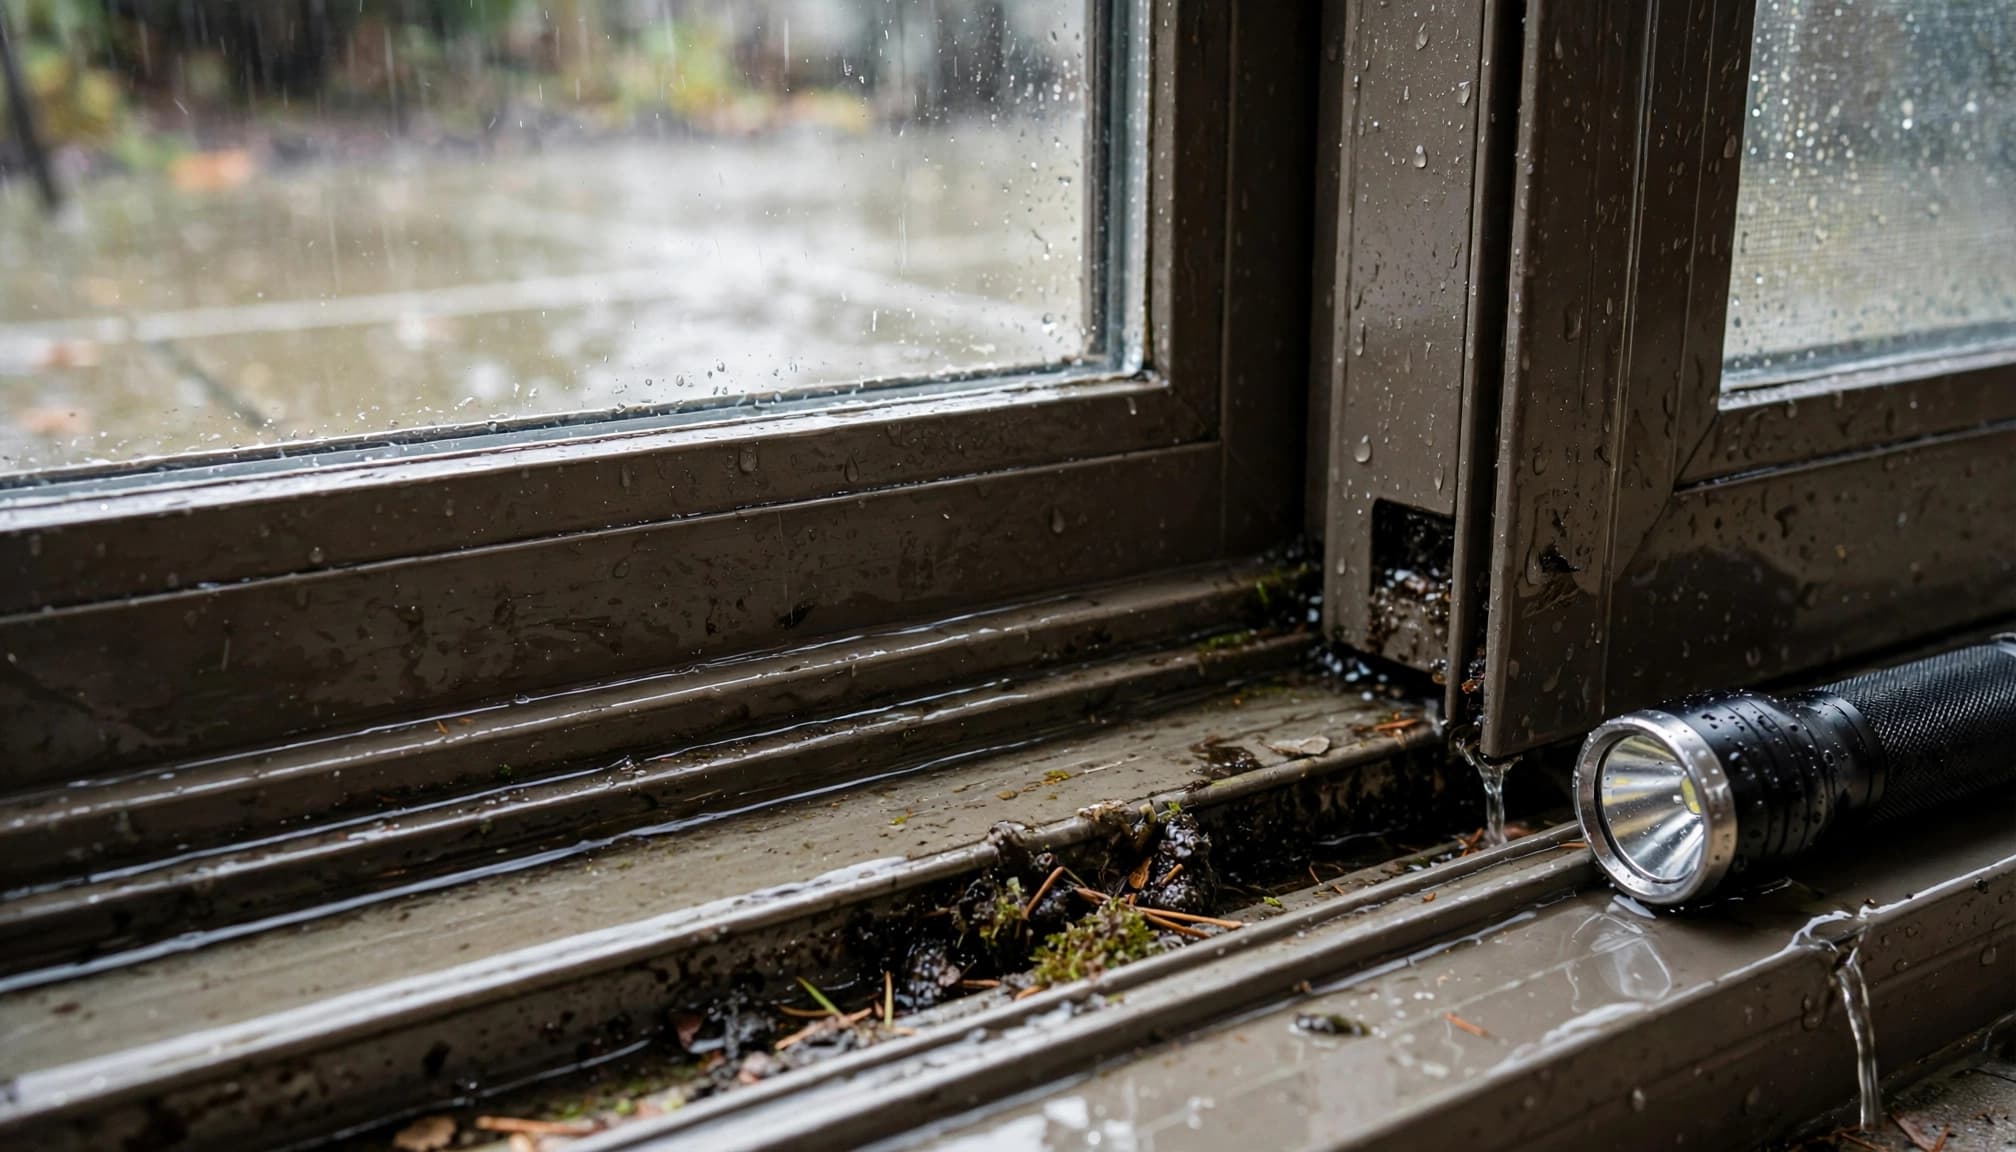
Inspect the lower track and corners
Look closely at the exterior side of the bottom track. Leaves, grit, pet hair, and insect debris can block drainage openings or hold water against the frame. Clear loose material with a vacuum and a soft brush. Don't poke blindly into small openings or enlarge them.
Next, inspect both lower corners. Check for cracked sealant, separated joints, damaged weatherstripping, and gaps where the frame meets the sill. Also examine the fixed panel's vertical edge and the meeting rail between the moving and stationary panels.
Trace the water instead of guessing
A controlled hose test can narrow the source. Keep the water flow gentle, and test one small area at a time, starting below the suspected leak and moving upward. Have someone watch the interior paper towels while you pause between each test.
If water appears after testing the bottom track, focus on drainage and sill conditions. If it appears only after wetting a corner or upper frame, inspect that joint and the surrounding exterior seal. Stop the test if water begins entering quickly or reaches electrical equipment.
Separate the leak from the handle
A handle can feel loose or uncomfortable while the door remains watertight. Conversely, a door can leak even when its handle feels solid. Treat those as separate problems until testing proves otherwise.
Don't pull harder on the handle to compensate for a panel that drags. Excess force can stress the latch, rollers, frame, or mounting screws. Find the water path first, then decide whether the handle needs attention.
Check the exterior drainage and seals
Sliding doors are designed to manage small amounts of water around the exterior track. Problems begin when debris blocks drainage, seals wear out, or water reaches a joint that no longer sheds it away from the opening.
Clean the track without damaging it
Vacuum the entire channel, including the corners. Follow with a damp cloth or a soft brush to remove the film that collects after dust mixes with moisture. Avoid heavy oil because it can trap grit and create a paste that makes the door harder to move.
After cleaning, pour a small amount of water into the exterior track and watch where it goes. Water should move toward the intended drainage points rather than pooling against the interior edge. If it remains in place, a blocked opening, damaged sill, or poor slope may need further inspection.
Examine weatherstripping and exterior joints
Weatherstripping should contact the adjoining surface without forcing the panel out of alignment. Look for flattened, torn, brittle, or detached material along the moving panel and fixed frame. Match any replacement seal to the original profile and install it without stretching.
Inspect exterior caulk around the frame, especially at lower corners and where vertical members meet the sill. A narrow split can admit water during wind-driven rain. Remove only failed surface material that you can safely reach, and use a compatible exterior sealant on a clean, dry surface.
If the trim is soft, stained, or separating from the wall, the problem may extend beyond the door assembly. Don't pry off the frame or remove glass to investigate. A qualified door professional should evaluate active interior leaks, soft wood, a moving sill, or concealed damage.
Test the panel, rollers, and threshold
Rain can expose an alignment problem that was already developing. A sagging panel may leave uneven gaps, press against weatherstripping, or prevent the lock from lining up with its keeper.
Watch how the door moves
Open the glass panel slowly and notice whether it catches at one location or drags throughout its travel. A single rough spot may point to debris or a dent in the running surface. Drag across the full opening can indicate dirty or worn rollers, incorrect adjustment, or frame movement.
Check whether the panel sits evenly inside the frame. Uneven spacing at the top or sides can affect both the seal and the latch. Clean the track before making adjustments, then test the door again.
Roller adjustment varies by door design. Some adjustment screws sit near the bottom corners. Other panels require removal to reach the rollers, and a large glass panel can weigh hundreds of pounds. Don't remove it alone.
Check the threshold and nearby surfaces
Press lightly on the threshold only to observe whether it feels firm. A sill that moves, bows, or shows soft material needs professional attention. Look beyond the door for stained flooring, swollen trim, or darkened material that may indicate a longer-running moisture problem.
Also inspect the screen door track and the area where the screen frame meets the patio door. Water may appear near the slider even when it enters through a nearby joint or damaged exterior surface.
Once the panel rolls smoothly and the threshold appears sound, close the door and check the latch. It should engage without lifting, slamming, or pushing the panel sideways.
Decide whether the handle is the separate problem
A smooth-running, properly sealed door can still be frustrating when its recessed pull is too shallow. Wet hands, limited grip strength, and years of repeated use make a small factory handle harder to control.
A retrofit handle can address that grip problem without repairing the track or sealing a leak. It should be installed only after the panel moves correctly, because a larger handhold won't fix worn rollers, a distorted frame, or a blocked drainage channel.
Measure before ordering
Luuv Handle products fit sliding doors with a 7.25-inch by 1-inch door plate. Measure the existing plate rather than choosing by appearance alone. Check clearance around the handle, the latch, and any nearby sliding screen.
The retrofit design fits over most standard existing handles. You keep the original lock and latch in place, and the existing handle isn't removed or modified. Review the sliding glass door handle compatibility details before buying.
Choose the finish and coverage
The handle is available in white and bronze, with interior, exterior, and inside-and-outside options. An inside-and-outside set can make sense when people use the patio from both directions. A single interior handle may be enough when the exterior side already works well.
The steel-and-oak construction provides a firm grip, while the oak receives a water-resistant finish for humid areas around patios. The white sliding glass door replacement handle is made by hand in the USA. The bronze product page lists $30, but it also currently shows the item as sold out, so check availability before planning around that option.
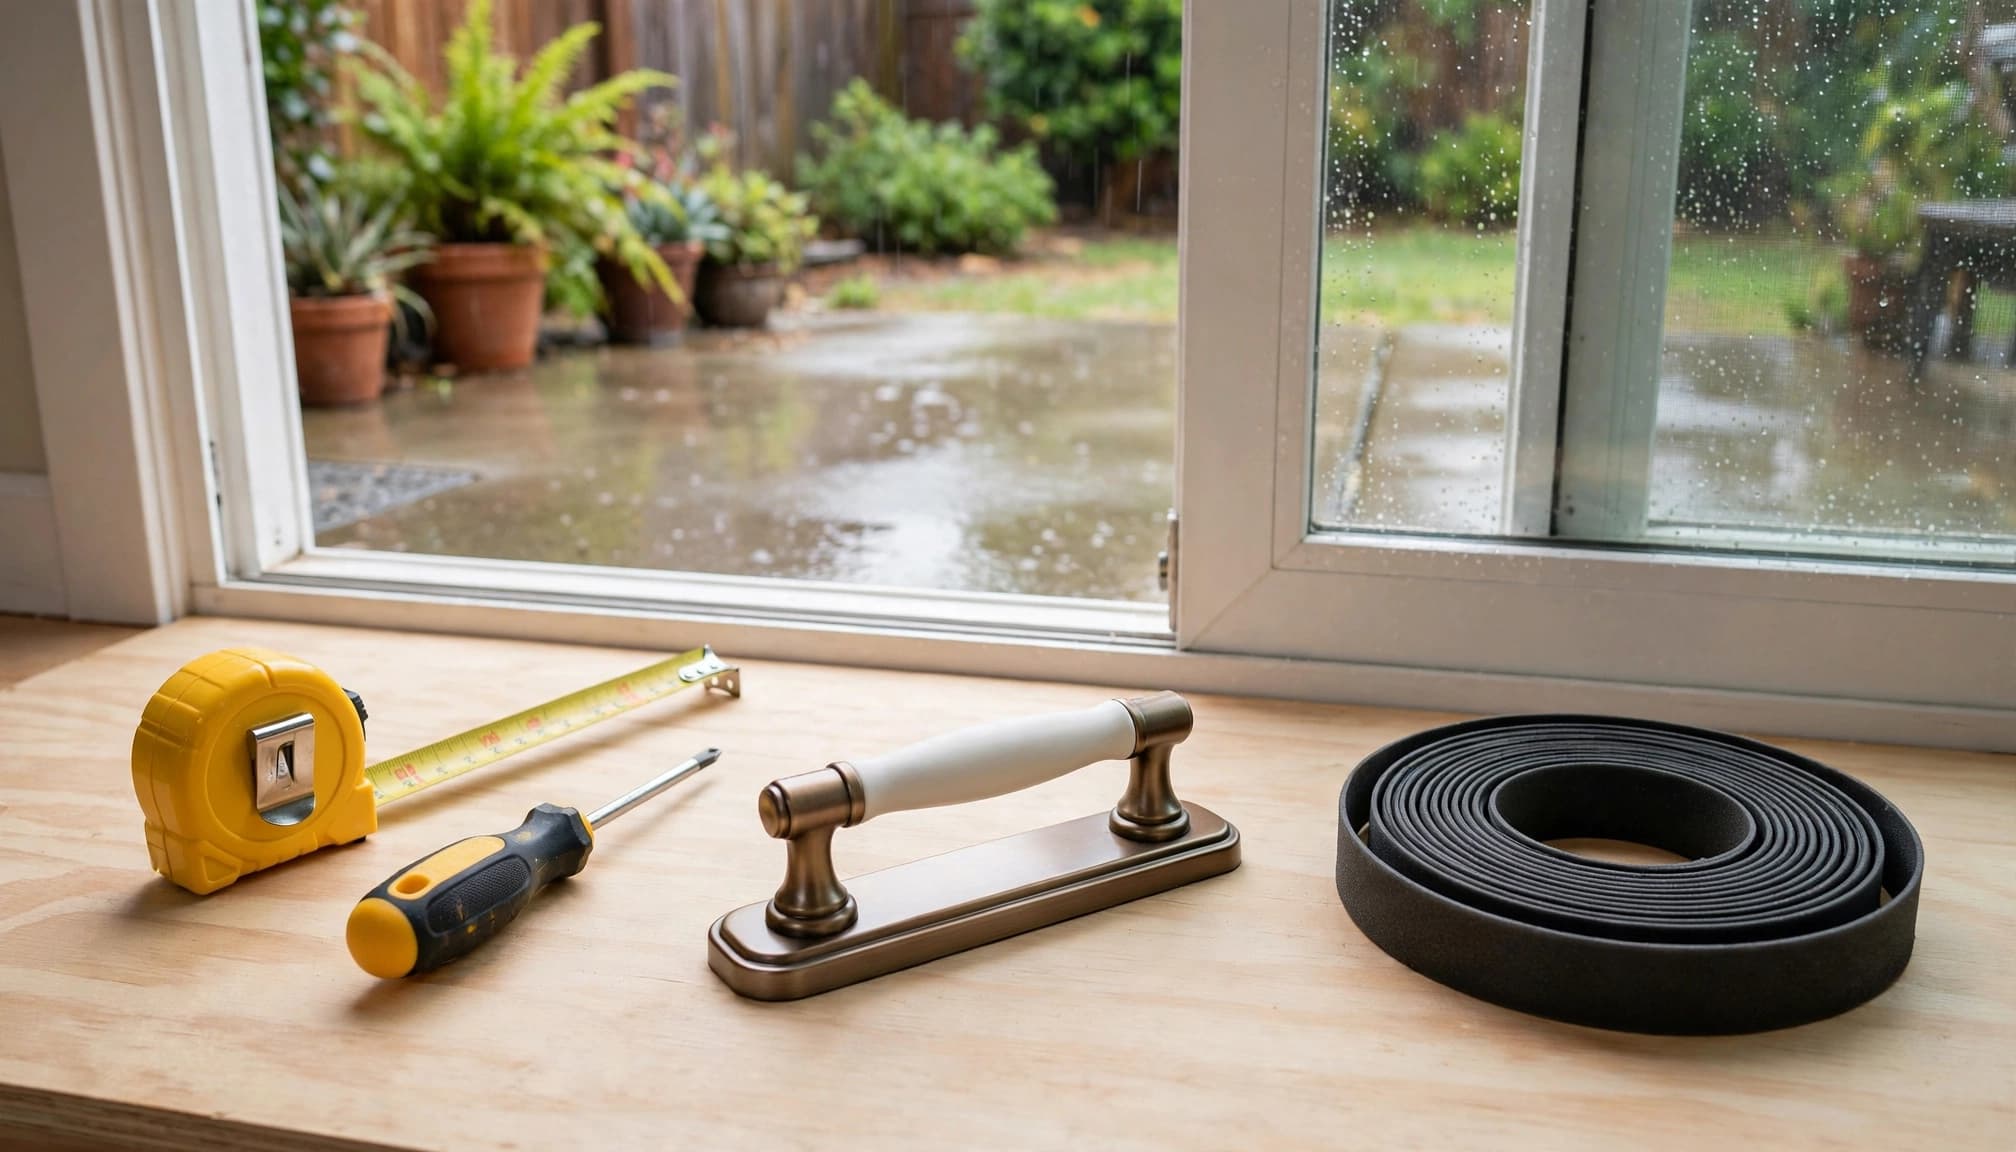
Install a no-drill retrofit handle after the leak repair
Fix the water-entry problem before adding hardware. That order keeps you from confusing a more comfortable grip with a watertight repair.
Follow the slide-on installation process
On a compatible door, the basic installation uses the existing mounting screws:
- Loosen the screws from the inside of the door.
- Move to the exterior side and slide the lower part of the handle over the existing plate.
- Set the upper cap over the plate, then pull the handle down until it seats.
- Return inside and tighten the screws evenly.
The sliding glass door handle installation page provides the complete sequence. Don't overtighten the screws, and don't pull the handle at an angle while checking the fit.
Luuv Handle is made in the USA by a veteran-owned Southwest Florida business. The product is patented until 2037, requires no alteration to the door, and requires no drilling. Its materials include steel and water-resistant oak, with white and bronze finish options.
Set realistic installation expectations
The product information describes installation in about 30 seconds on a compatible door. Customer experiences vary. One review describes a secure fit completed in five minutes, while another reports needing longer metric screws and adjustments for a particular door.
That difference is a reason to measure carefully and inspect the existing hardware before ordering. If the plate dimensions, screw engagement, or clearance don't match, stop rather than forcing the handle into place. The white sliding door handle bundle includes inside-and-outside coverage and lists a 30-day guarantee.
FAQ: Sliding glass door water leaks and handles
Can a new handle stop rain from entering?
No. A handle improves grip and control, but it doesn't seal the track, frame, threshold, or weatherstripping. Find and repair the water-entry point separately.
Should I replace weatherstripping before testing the track?
Start by cleaning and observing the track. If debris blocks drainage, new weatherstripping won't solve the problem. Once the channel is clean, inspect the existing seal for tears, gaps, compression, or a poor fit.
Can I install a retrofit handle without removing the original one?
Yes, when the door matches the product's requirements. The Luuv Handle slides over compatible existing hardware, so the original handle, lock, and latch stay in place. Confirm the 7.25-inch by 1-inch plate measurement first.
What if the door still leaks after cleaning?
Repeat a controlled water test and identify the first wet location. Persistent moisture around soft trim, a moving sill, cracked frame, or damaged wall materials calls for professional evaluation. Don't remove the glass or disturb the frame to chase the leak.
Is the Luuv Handle suitable for an exterior-facing patio door?
Its steel frame and water-resistant oak construction are intended for the humid conditions found around doors and patios. It still doesn't replace weatherproofing. Keep the track and drainage paths clear, and repair the leak before installing the handle.
Conclusion
A wet floor beside a sliding door is a reason to trace the water, not immediately replace the handle. Start with the track, drainage openings, corners, threshold, seals, and exterior joints. Then test the rollers, alignment, and latch before deciding which part needs repair.
When the door seals and moves correctly but remains difficult to grip, a compatible retrofit can improve daily use without drilling or changing the door. Measure the plate, confirm the hardware, and choose the repair that matches the problem you actually found.